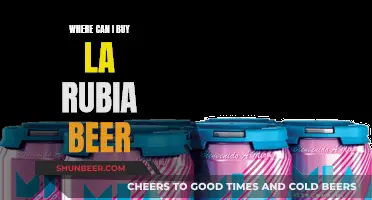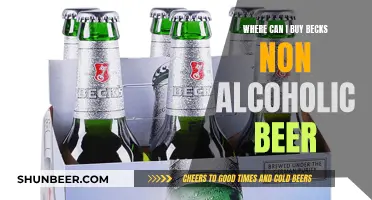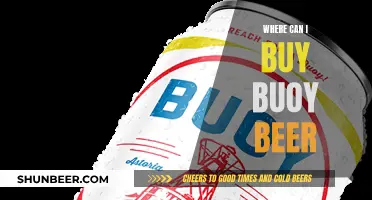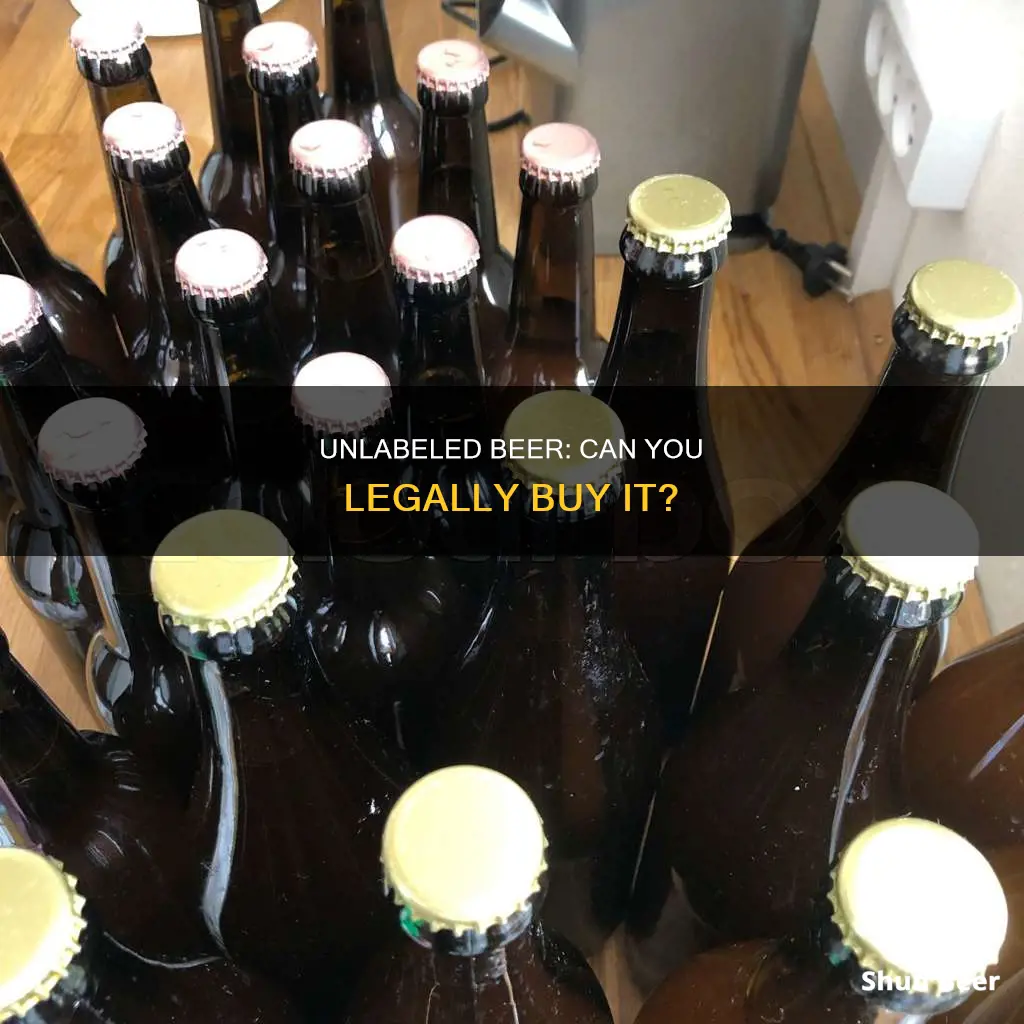
Beer enthusiasts and collectors often want to remove beer labels from bottles and cans to save them as mementos. There are several methods to do this, including using hot water, heat, and tools such as razor blades or X-Acto knives. However, it's important to note that not all labels are created equal, and some may be easier to remove than others. Some breweries print directly on cans, while others use shrink-wrapped sleeves or sticker labels. Before attempting to remove a label, it's recommended to identify the type of label and practice on labels you don't intend to save.
What You'll Learn

Removing beer labels from cans and bottles
Sticker Labels
Sticker labels are one of the two main types of beer labels. They are usually easy to identify, but they can come in many shapes and sizes. Some wrap entirely around the can, while others are die-cut shapes that allow parts of the can to show through. They can also be matte or glossy.
To remove a sticker label from a can or bottle, you can try the "Tap and Cap Method":
- Prepare your workspace by washing and drying your hands, cleaning your countertop, and gathering your materials.
- Run your tap until the water is as hot as possible.
- Put on an Ove Glove or another heat-resistant glove to protect your hand from the hot water.
- Fill the can with hot water. Be careful not to get the glove wet.
- Place a water-tight can cap on the top of the can.
- Set a timer for four minutes.
- After four minutes, use a razor blade to lift the edge of the sticker.
- Slowly and carefully peel the label off while rotating the can.
- Apply the label to cardstock or another surface if you are saving it.
Alternatively, you can try using heat to remove the sticker. You can use a hairdryer on high heat and run it back and forth over the label for 30-second intervals until the glue softens and the label can be peeled off. This method is not recommended for plastic containers, as they may melt.
You can also try using a product like Goo Gone Sticker Lifter or Turtle Wax Label & Sticker Remover. Apply the product with a rag or paper towel and let it sit for about 15 minutes. Then, peel the label from the corner or use a scraper to remove any remaining pieces.
Another option is to soak the can or bottle in hot water for at least an hour or overnight. Then, you should be able to easily peel off the label. Use a wet sponge to remove any adhesive residue.
Finally, you can try using a sharp tool like an X-Acto knife or a razor blade to carefully lift and peel the label. This method is not recommended for surfaces that scratch easily, like tin or plastic.
Shrink-Wrapped Sleeve Labels
The other main type of beer label is the shrink-wrapped sleeve. This is a plastic film that has been heated to shrink-wrap the can. They are typically glossy, and you can usually see the edge on the top or bottom of the can.
To remove a shrink-wrapped sleeve label, you can try the "Clamp and Spin Technique":
- Lay the can on a stable surface, such as a Mitre Box or a utensil drawer.
- Put clamps in place to keep the can steady (optional).
- Firmly hold a razor blade or X-Acto knife against the can.
- Rotate the can until the label is cut all the way around.
- Repeat for the other end of the can.
- Cut the sleeve along the seam.
- Lay the can flat and place a straight edge on the seam of the sleeve. Cut the sleeve lengthwise. Be careful not to use too much pressure, as it can bend the can.
General Tips
- Before attempting to remove any label, always make sure to test a small area of the container to ensure that the removal method will not damage the surface.
- If you plan to save the label, it is recommended to practice removing labels on some that you don't intend to keep first.
- If you are saving the label, place it on a heavy material like cardstock to avoid buckling.
- If you are left with a sticky can after removing the label, you can use it as a lint roller!
Friends, Beers, and Baseball: Can They Mix?
You may want to see also

Mandatory information to include on beer labels
Beer labels must comply with the Alcohol and Tobacco Tax and Trade Bureau's (TTB) regulations, which are very specific and strictly enforced. A Certificate of Label Approval (COLA) is required for all beer labels. Here is a list of mandatory information to include on beer labels:
- Brand Name: The brand name is typically the most prominent piece of information on a beer label and should reflect the name the beer is marketed under. It must not describe the age, origin, identity, or characteristics of the beverage unless it is complete and accurate. The brand name must appear on the front of the container, with a minimum logo/wordmark size of 2mm tall for containers greater than 8 fl. oz. and 1mm for containers less than or equal to 8 fl. oz. It must be legible and appear on a contrasting background, separate from other supporting information.
- Class and Type Designation: The specific class and type of malt beverage must be identified on the label, with acceptable terms defined by the TTB's Beverage Alcohol Manual. This information must also appear on the front of the container, with a minimum type size of 2mm for containers greater than 8 fl. oz. and 1mm for containers less than or equal to 8 fl. oz. It must be legible and appear on a contrasting background, separate from other information.
- Name and Address of Producer/Bottler: The name and address of the producer, bottler, or packer must be included. Domestic products should include the city and state, while imported products must include the principal place of business. This information can be preceded by phrases like "Brewed and Bottled by" or "Bottled by." The minimum type size and legibility requirements are the same as for the brand name.
- Container Size: The container size must be expressed in American measure and appear on the front of the container, parallel to the base. The minimum type size and legibility requirements are consistent with the brand name and other information.
- Alcohol Content: While optional, if included, alcohol content must follow specific regulations. It must be expressed in percent by volume and written in a specific format, such as "Alcohol __% by Volume." It can appear on the front, back, or side of the container and must use the same style, size, and color of font.
- Health Warning Statement: A mandatory statement for all alcohol beverages for sale or distribution in the U.S. containing at least 0.5% alcohol by volume. It must include the exact wording provided by the TTB and cannot be modified. The statement must appear in capital letters with "GOVERNMENT WARNING" in bold. It can appear on the front, back, or side of the container, with minimum type size requirements based on container size.
- Country of Origin: For imported beverages, the country of origin must be indicated. This information can be included in various formats, such as "Product of [country]" or "Brewed in [country]." There are no specific type size or legibility requirements, and it can appear on the front, back, or side of the container.
- Disclosures for Specific Ingredients: If the beer contains certain ingredients, specific disclosures are required. These include FD&C Yellow #5, saccharin, sulfites, and aspartame, each with their own required statements. These statements must appear on the front, back, or side of the container, with a minimum type size of 2mm for containers greater than 8 fl. oz. and 1mm for containers less than or equal to 8 fl. oz.
- Lite/Light/Low Carb: If terms like "light" or "lite" are used, a Statement of Average Analysis is required, including calories, carbohydrates, protein, and fat. The term "low carb" can only be used if the beer contains no more than 7 grams of carbs per 12 fl. oz. serving.
Buying Beer in Utah: Holiday Hours and Rules
You may want to see also

Designing your own beer labels
Yes, you can buy beer without labels, and you can also design your own beer labels. Here are some tips for creating your own unique and eye-catching beer labels:
Choose the Right Platform:
Start by selecting an online platform or software that offers customizable beer label templates. Sites like GrogTag and BottleYourBrand provide easy-to-use editors and templates to create personalized beer labels.
Select a Template:
These sites offer a variety of templates to choose from, including classic ovals, necker sets, full-wrap labels, and more. Pick a template that fits your bottle or can size and has the layout you desire.
Customize Your Design:
Once you've chosen a template, it's time to get creative! Upload your images, logos, and text to the template. You can also utilize the platform's editing tools to customize the design further. Play around with colors, fonts, and other design elements to make your label stand out.
Consider the Material:
When ordering your labels, pay attention to the material. Vinyl labels, for example, are fully customizable, waterproof, and dishwasher-safe. Ensure the labels are durable, self-adhesive, and made from high-quality materials.
Order Samples:
Before placing a large order, consider ordering samples to ensure the labels meet your expectations. This way, you can check the quality, sizing, and overall appearance of the labels before committing to a larger purchase.
Seek Professional Help:
If you have a specific design in mind but need assistance executing it, consider hiring a trained professional. Some platforms offer custom design services, connecting you with designers who can help bring your vision to life.
Know Your Bottle or Can Size:
To ensure your labels fit perfectly, know the size and shape of your bottles or cans. Common label sizes include 2.5" x 3.5", 3.5" x 2.5", and 7.375" x 3.125" for full-wrap labels. Check the platform's size guide to select the appropriate template.
Buying Beer Late in Minnesota: What's the Deal?
You may want to see also

Beer label sizes
Beer labels come in a variety of sizes, depending on the size and shape of the bottle or can. The first step in determining the correct label size is to measure the height and width of the bottle or can that requires labelling. It is also important to consider whether you want the label to wrap completely around the bottle or can, in which case you should leave some blank space to avoid overlapping any printed information.
For example, a 3.5” tall by 4” wide beer label may work for a standard 12 oz bottle, but it will not be big enough for a 22 oz bottle. For a 12 oz bottle, a 3.5"w x 4.00"h label is recommended, while a 22 oz bottle may require an 8.50"w x 4.00"h label.
The type of beer bottle or can also plays a role in determining the label size. Short and stout bottles with very little neck, often chosen for vintage or special edition brews, are known as stubby bottles. Recommended label sizes for this type of bottle include 2.475″ x 8.375”, 2.500″ x 6.625”, and 3.000” x 4.000” rectangles, among others.
Another common bottle style is the Heritage bottle, which stands shorter and wider than the Long Neck style and has a more craft look. Recommended label sizes for Heritage bottles are similar to those for stubby bottles, including 2.475″ x 8.375”, 2.500″ x 6.625”, and 3.000” x 4.000”.
The Long Neck bottle is the most commonly used and recognisable bottle in the industry. Recommended label sizes for this type of bottle include 2.475″ x 8.375”, 2.500″ x 6.625”, and 3.000” x 4.000”.
For slim cans, such as those used for hard seltzer, a slightly taller label is suggested to match the shape of the can. Recommended label sizes for slim cans are 7.20"w x 5.00"h.
It is also important to note that the label size may need to be adjusted depending on whether you choose a partial wrap or full wrap label. A partial wrap label has two separate labels, one for the front and one for the back, while a full wrap label runs around the whole bottle or can.
Magic Kingdom's Best Beer Buying Spots
You may want to see also

Removing labels without damaging them
Removing labels from beer bottles and cans is a popular activity for beer enthusiasts, but it can be tricky to do without damaging them. Here are some tips and techniques to help you remove beer labels without damaging them.
Identify the Type of Label
Before attempting to remove a label, it's important to identify the type of label you're dealing with. There are two basic types of beer can labels: shrink-wrapped sleeves and sticker labels. Shrink-wrapped sleeves are made of glossy plastic that has been heated to shrink-wrap the can. Sticker labels, on the other hand, can come in various shapes and sizes, and can be made of different materials.
Tools and Materials
To remove beer labels without damaging them, you'll need some basic tools and materials:
- A sharp blade, such as an X-Acto knife or a razor blade
- A Mitre box or a stable surface to keep the can/bottle in place
- Clamps (optional) to keep the can/bottle steady
- Cardstock or heavy paper to place the removed label on
- Gloves to protect your hands from hot water
- Hot water and, optionally, a cleaning agent such as OxiClean or baking soda
Removing Shrink-Wrapped Sleeves
Shrink-wrapped sleeves do not use any adhesive, so the best way to remove them is by cutting them with a sharp blade. Here are the steps:
- Lay the can on a stable surface, such as a Mitre box.
- Put clamps in place to keep the can steady (optional).
- Firmly hold the blade against the can.
- Rotate the can until the label is cut all the way around.
- Repeat for the other end of the can.
- Cut the sleeve along the seam.
Removing Sticker Labels
Sticker labels usually require heat to soften the adhesive. Here's a method called the "Tap and Cap Method" for removing them:
- Prepare your workspace by cleaning your countertop and gathering the necessary tools and materials.
- Run your tap until the water is as hot as possible (but not boiling).
- Fill the can with hot water and secure a water-tight cap on top.
- Set a timer for four minutes to allow the hot water to soften the adhesive.
- Use a razor blade to lift the edge of the sticker.
- Slowly and carefully peel the label off while rotating the can.
- Apply the removed label to cardstock or heavy paper.
The SOB Method
Another technique for removing labels is the SOB method, which stands for "Soak or Bake." This method involves determining the type of adhesive used on the label and then using the appropriate removal technique:
- For sticky adhesives, the "Bake" method is recommended. Preheat your oven to 350°F and place the bottle inside for 5 minutes. Then, use a razor blade to get underneath the edge of the label and slowly lift it away.
- For dry adhesives, the "Soak" method is suggested. Soak the bottle in hot water and OxiClean for 15 minutes. The label should then slide right off, but if not, use a razor blade to get underneath the edge and lift it away.
Additional Tips
- Always use a razor blade when removing labels to avoid damaging them.
- Practice removing labels on ones you don't intend to save first.
- Avoid bottles with sticker labels/wraps, as they can be very difficult and time-consuming to remove.
- Soaking bottles in hot water and a cleaning agent can help loosen labels and remove any sediment.
Buying Beer in Clemson, South Carolina on Sundays
You may want to see also


