Cleaning a beer bong is an essential task to ensure a smooth and enjoyable drinking experience. It's crucial to maintain hygiene and prevent any unpleasant odors or tastes. Here's a simple guide on how to effectively clean your beer bong: Start by pouring hot water into the bong to dissolve any leftover liquid and residue. Then, add a small amount of dish soap or a specialized bong cleaner, which will help break down any sticky substances. Use a bottle brush to scrub the inside of the bong, paying extra attention to the downstem and bowl. Rinse thoroughly with hot water to remove any soap residue. Finally, allow the bong to air dry completely before using it again.
What You'll Learn
- Prepare: Gather cleaning supplies and ensure a safe, well-ventilated area
- Disassemble: Carefully take apart the bong, separating each piece
- Rinse: Use warm water to remove residue, ensuring no beer smell
- Scrub: Apply a gentle cleaning agent and scrub each part thoroughly
- Dry: Let the bong air dry completely before reassembling and storing
![]()
Prepare: Gather cleaning supplies and ensure a safe, well-ventilated area
Before you begin the cleaning process, it's crucial to gather the necessary supplies and ensure a safe and efficient working environment. Start by collecting the following items: a bottle brush, a pipe cleaner, a small scouring pad, and a container of warm soapy water. These tools will help you dislodge and remove any stubborn residue. Additionally, consider using a specialized bong cleaner, which can be particularly effective for breaking down and eliminating tough buildup.
Safety should always be a priority. Choose a well-ventilated area to work in, preferably outdoors or in a room with open windows. This is important to avoid inhaling any potentially harmful fumes or chemicals that may be released during the cleaning process. Ensure that the area is clear of any obstacles or hazards that could interfere with your cleaning routine.
When preparing your cleaning supplies, it's essential to have a dedicated workspace. Set up a table or a stable surface where you can lay out your tools and work comfortably. This will make the cleaning process more organized and efficient, allowing you to focus on each step without clutter or distractions.
Remember, the goal is to create a clean and healthy environment for your bong. By taking the time to gather the right supplies and preparing a safe workspace, you'll be well-equipped to tackle the cleaning process effectively. This initial preparation step is often overlooked but is key to ensuring a thorough and safe cleaning experience.
Sapporo Beer: Unveiling the Lager Mystery
You may want to see also
![]()
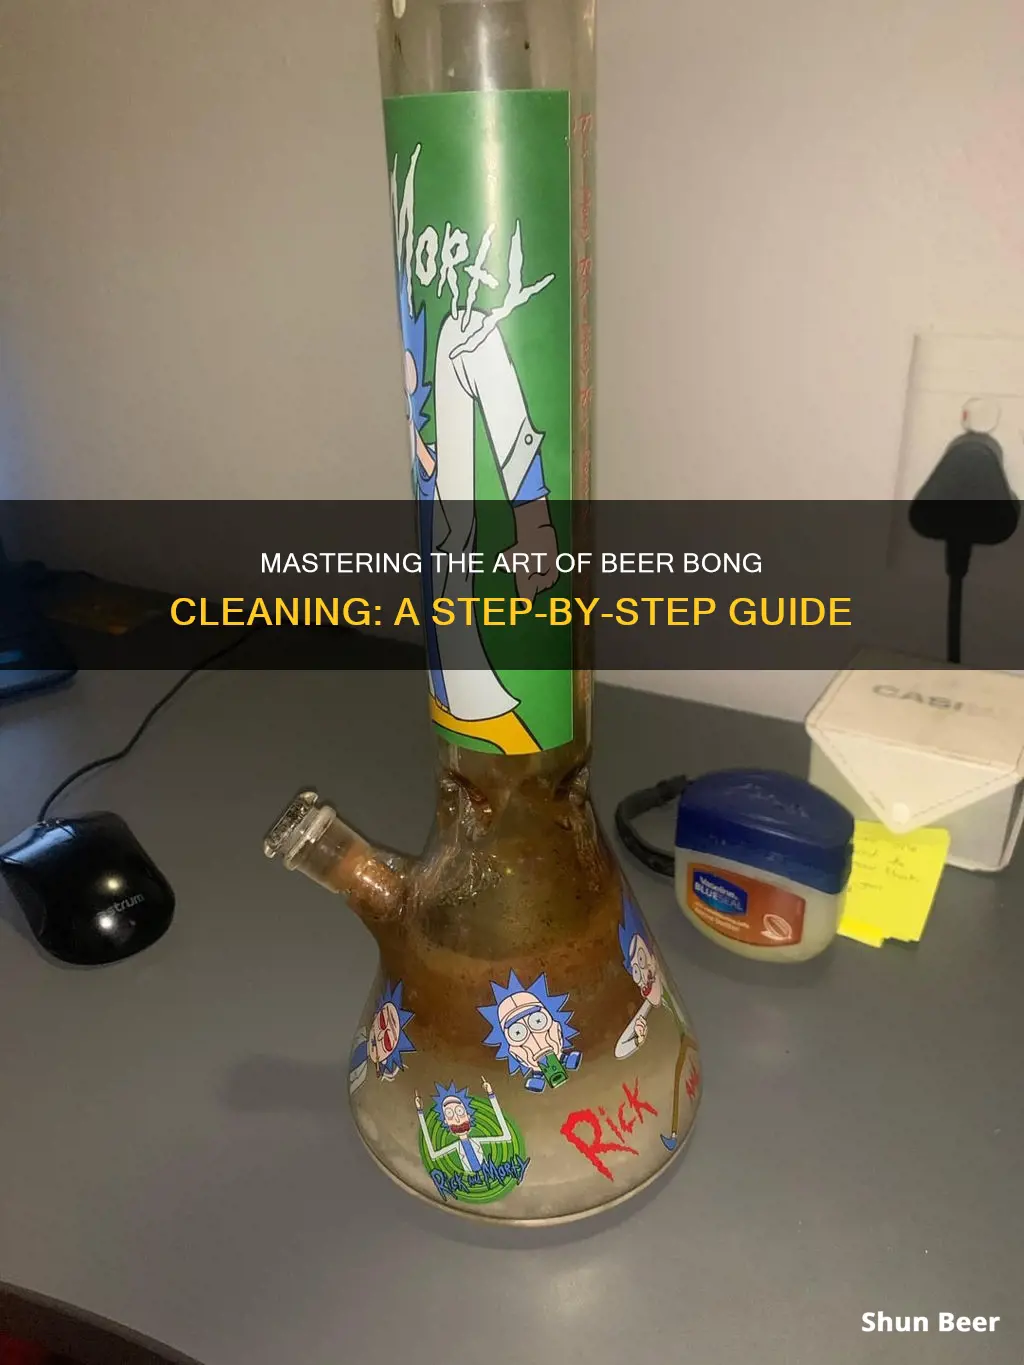
Disassemble: Carefully take apart the bong, separating each piece
Disassembling a beer bong is an essential step in the cleaning process, ensuring that every part of the bong is accessible and can be thoroughly cleaned. This process requires a careful and methodical approach to avoid any damage to the bong's components. Here's a detailed guide on how to disassemble your beer bong:
Step 1: Identify the Parts
Before you begin, it's crucial to understand the different parts of your bong. A typical beer bong consists of a base, a downstem (the tube that connects the base to the bowl), a bowl (where the smoke is cooled and collected), and a splash guard (a screen that prevents water from splashing back into the bowl). Familiarize yourself with these parts to ensure you disassemble them correctly.
Step 2: Remove the Bowl
Start by carefully lifting the bowl off the downstem. This piece is usually attached to the downstem with a rubber gasket or a small screw. Gently twist or pull the bowl to separate it from the downstem. Be cautious not to force it, as some bowls might be stuck due to dried residue.
Step 3: Take Apart the Downstem
Once the bowl is removed, you can now focus on the downstem. If your downstem has a removable glass piece, carefully detach it from the base. This piece often has a small hole at the bottom, which is crucial for water filtration. If your downstem doesn't have a removable glass piece, you might need to soak it in isopropyl alcohol to loosen any built-up residue.
Step 4: Separate the Base and Other Components
The base of the bong is the foundation, and it's where the magic happens. Carefully lift the base and separate it from the downstem. Some bases might have a twist-and-lock mechanism, while others might require a small screwdriver to release the pieces. Ensure you keep track of any small screws or fasteners that might come loose during this process.
Step 5: Clean Each Piece Thoroughly
After disassembling the bong, you'll have access to all the internal components, including the bowl, downstem, and base. Rinse each piece with warm water to remove any loose debris. For more stubborn residue, use a mild detergent or isopropyl alcohol. Pay close attention to the joints and crevices, as these areas can accumulate a lot of residue.
By following these steps, you'll be able to disassemble your beer bong effectively, making the cleaning process more manageable and ensuring a thorough clean. Remember, taking your time and being gentle with each piece will help maintain the bong's integrity and performance.
High-Temperature Fermentation: Understanding the Risks and Consequences for Beer
You may want to see also
![]()
Rinse: Use warm water to remove residue, ensuring no beer smell
To effectively clean a beer bong and eliminate any lingering beer odors, a thorough rinse is essential. Start by filling the bong with warm water, ensuring the water reaches the bottom of the chamber. This initial step helps to loosen and dissolve any residue or leftover beer that may have accumulated. Use your hands to gently agitate the water, creating a swirling motion to dislodge any particles. Pay close attention to the narrow parts of the bong, as these areas can often trap odors and residue.
After a few minutes of swirling, drain the warm water and refill the bong with fresh, hot water. The heat of the water is crucial as it helps to further break down any remaining beer compounds. Again, agitate the water to ensure it reaches every corner of the bong, including the downstem and the base. This process ensures that no beer residue is left behind, which can cause unpleasant odors over time.
For an extra thorough clean, consider using a small brush to scrub the inner walls of the bong. This is especially useful for removing any stubborn residue that may have built up. Rinse the brush with warm water after each scrub to avoid pushing dirt around. Once you've scrubbed the entire bong, drain the water and repeat the process of refilling with hot water and agitating.
The goal of this rinse is to ensure that no beer smell remains in the bong. By using warm water and creating a thorough cleaning process, you can effectively eliminate any odors caused by previous use. Remember, regular cleaning is essential to maintain the quality of your beer and the overall health of your bong.
Uncover the Secrets of Mexico's Iconic Lager Beer
You may want to see also
![]()
Scrub: Apply a gentle cleaning agent and scrub each part thoroughly
Scrubbing is an essential step in the process of cleaning a beer bong, ensuring that you remove any residual beer, dirt, and grime that may have accumulated over time. This methodical approach guarantees a thorough clean, leaving your bong sparkling and ready for the next use. Here's a detailed guide on how to effectively scrub each part of your beer bong:
Gather Your Materials: Before you begin, ensure you have the necessary cleaning supplies. You'll need a gentle yet effective cleaning agent, such as dish soap or a specialized bong cleaner. Warm water is also essential, as it helps to dissolve and remove any stubborn residue. Additionally, consider using a soft-bristled toothbrush or a specialized bong brush to scrub the inner surfaces gently.
Disassemble the Bong: Carefully take apart your beer bong into its individual components. This includes the main body, downstem, bowl, and any other removable parts. Disassembly allows you to scrub each section thoroughly, ensuring no part of the bong is overlooked. Pay attention to small crevices and joints, as these areas can trap dirt and beer residue.
Apply the Cleaning Agent: Generously spray or pour the chosen cleaning agent onto each disassembled part of the bong. Dish soap is a popular choice due to its effectiveness and mild nature, which won't damage the bong's materials. Allow the cleaning agent to sit for a few minutes to loosen and dissolve any built-up grime. For particularly stubborn stains, you might need to apply more pressure or use a small amount of baking soda as a gentle abrasive.
Scrubbing Technique: Now, it's time to scrub! Use the soft-bristled toothbrush or bong brush to gently scrub each part. Work in small circular motions, ensuring you cover all surfaces. For the bowl and downstem, pay extra attention to the inner walls, as these areas are prone to residue buildup. For the main body, scrub the outer surface and any visible parts, including the base and the rim. Take your time with this step, as thorough scrubbing ensures a clean and hygienic bong.
Rinse Thoroughly: After scrubbing, rinse each part of the bong under warm running water. Ensure that no cleaning agent residue remains, as it might affect the taste of your next drink. Hold the parts under the tap, allowing the water to flow through and wash away any loose particles. For a more thorough rinse, you can soak the parts in warm water for a few minutes before rinsing again.
Reassemble and Dry: Once all parts are clean and rinsed, carefully reassemble the bong. Ensure all pieces fit together snugly. Allow the bong to air dry completely before using it again. This process ensures that your beer bong is not only clean but also ready for optimal performance.
The Magic Yeast Brew: Unlocking the Flavor Secrets of Beer
You may want to see also
![]()
Dry: Let the bong air dry completely before reassembling and storing
After you've thoroughly cleaned your beer bong, the next crucial step is to ensure it is completely dry before reassembling and storing it. This might seem obvious, but it's a critical aspect of bong maintenance. Moisture can lead to mold and mildew, which can not only affect the taste of your next brew but also potentially damage the bong's components over time.
To start the drying process, disassemble the bong into its individual parts. This includes the bowl, downstem, base, and any other removable pieces. Ensure that you dry each part separately to prevent any moisture from being trapped in the joints. Place the parts on a clean, dry surface or a towel to absorb any excess water.
Once the parts are separated, you can use a hairdryer on a low setting to speed up the drying process. Hold the hairdryer a few inches away from each piece to avoid overheating or damaging the material. If you don't have a hairdryer, you can leave the parts to air dry naturally, which is just as effective. Place them in a well-ventilated area to ensure maximum airflow.
While the parts are drying, take the opportunity to inspect them for any signs of damage or wear. Check for cracks, chips, or any other issues that might have occurred during the cleaning process. This is also a good time to polish the glass to restore its shine and clarity.
Finally, once all the parts are completely dry, reassemble the bong carefully. Ensure that all the joints are dry and free of any moisture before securing them. Properly drying your beer bong will not only enhance its longevity but also ensure a smooth and enjoyable smoking experience every time.
Unveiling the Microbial Magic: Beer's Fermenting Heroes
You may want to see also
Frequently asked questions
Cleaning a beer bong is essential to maintain hygiene and ensure a smooth smoking experience. Start by pouring hot water into the bong and letting it sit for a few minutes to loosen any residue. Then, use a small brush or pipe cleaner to scrub the inner surface, including the downstem and bowl. Rinse thoroughly with hot water to remove any loose particles. For a more thorough clean, you can use a bong cleaner or a mixture of vinegar and water, which helps to dissolve built-up residue.
The downstem is a critical component of the bong and requires regular cleaning. After disassembling the bong, focus on the downstem by soaking it in isopropyl alcohol and warm water for at least 30 minutes. This will help dissolve any sticky residue. Then, use a pipe brush or a small toothbrush to scrub the downstem, ensuring you reach all the nooks and crannies. Rinse it thoroughly with hot water to remove any alcohol residue.
While regular dish soap is not harmful, it is not the most effective cleaning agent for a beer bong. Dish soap can leave a soapy residue, which might not be ideal for your next smoking session. Instead, opt for specialized bong cleaning solutions or a mixture of vinegar and water. These alternatives are designed to cut through grime and leave your bong clean and ready for use. Always remember to rinse the bong thoroughly after cleaning to remove any cleaning agent residue.