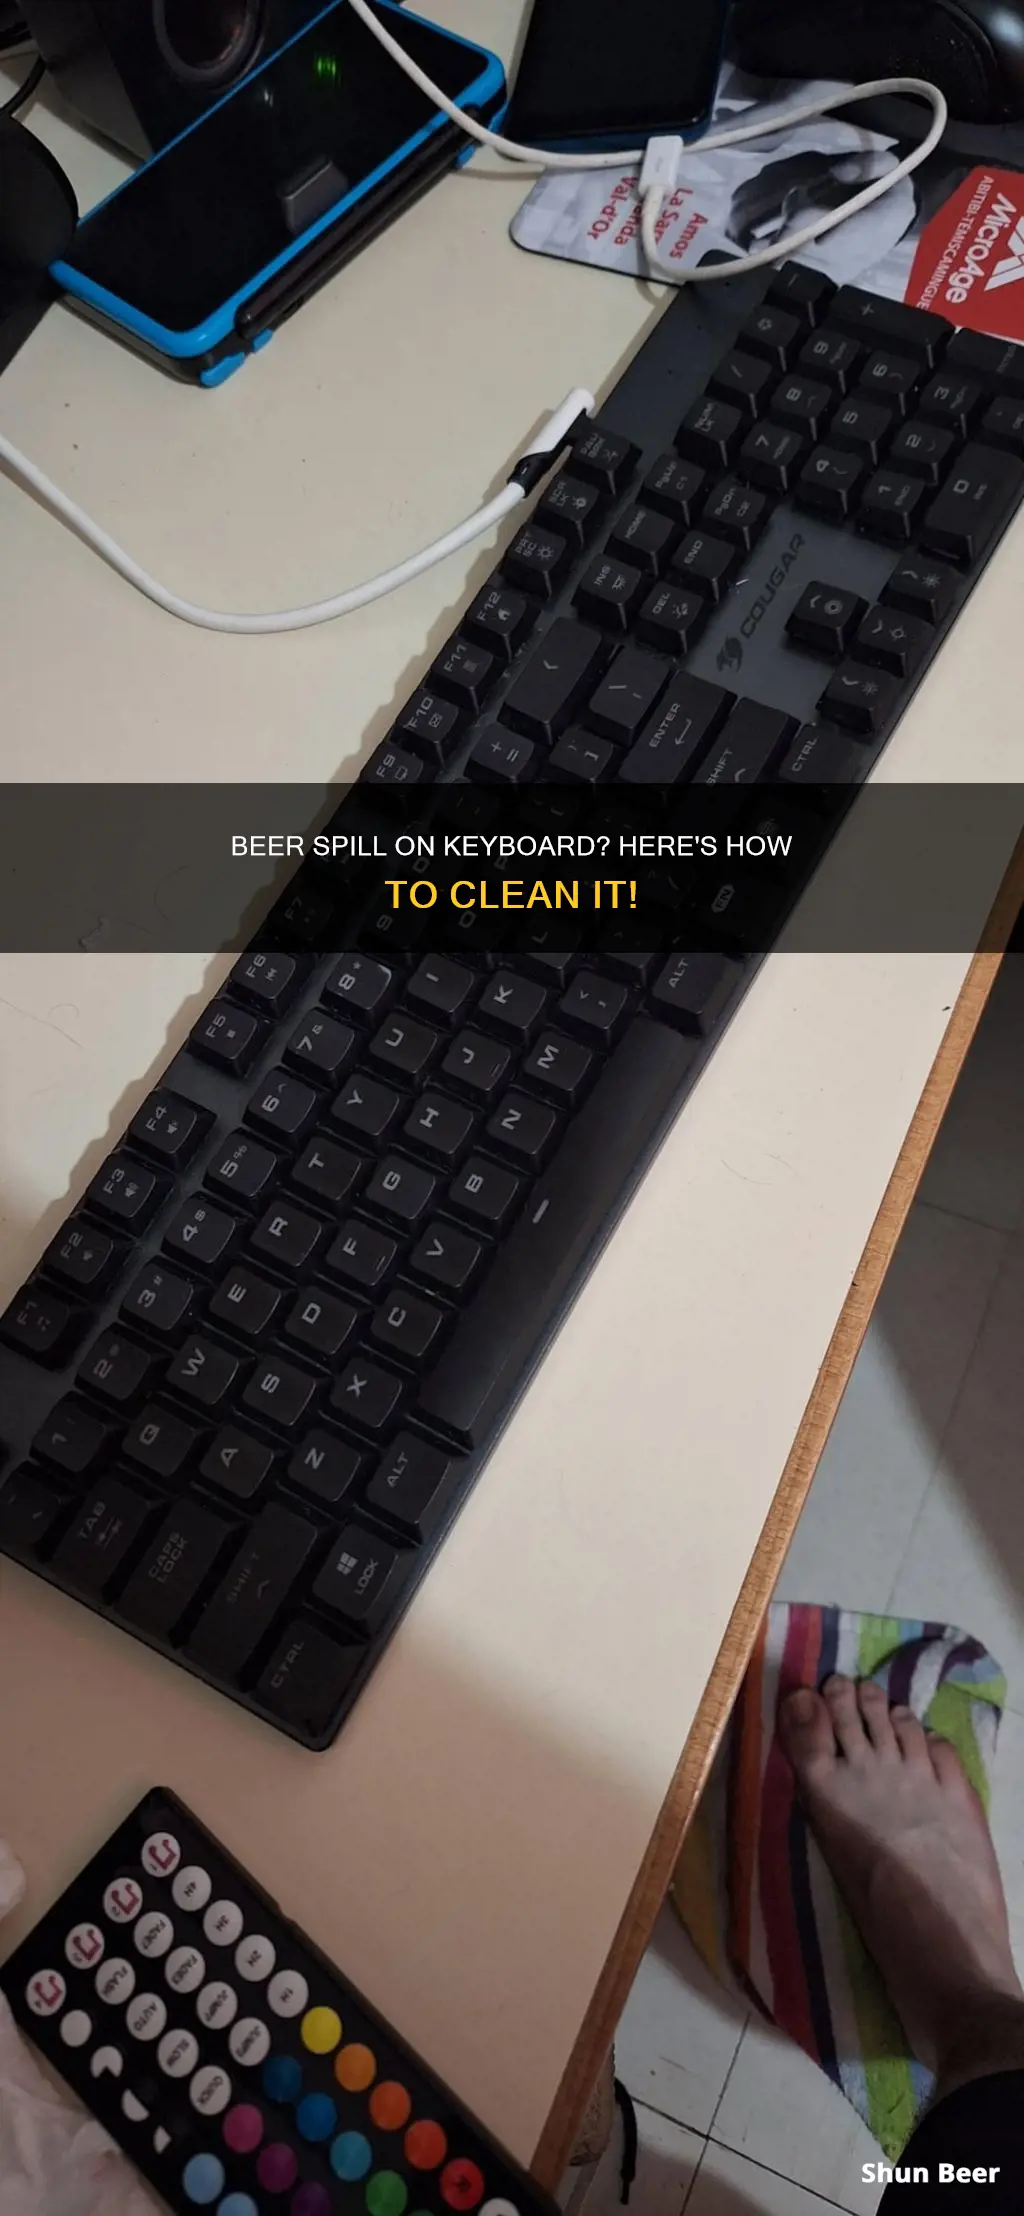
Accidentally spilling beer on your keyboard can be a stressful experience, but with the right approach, you can effectively clean it and restore its functionality. This guide will provide a step-by-step process to tackle the mess, ensuring your keyboard's longevity and optimal performance.
| Characteristics | Values |
|---|---|
| Step 1: Power Down and Unplug | Turn off the keyboard and unplug it from any power source to prevent electrical hazards and further damage. |
| Step 2: Absorb Liquid | Use a soft cloth or paper towel to gently absorb as much liquid as possible. Avoid rubbing to prevent liquid from seeping further into the keyboard. |
| Step 3: Disassemble (if possible) | If the keyboard is easily removable, take it apart to access the internal components. This step may vary depending on the keyboard model. |
| Step 4: Clean the Exterior | Use a mild detergent or dish soap mixed with warm water. Gently wipe the outer surfaces, including keys and the case, to remove any visible liquid residue. |
| Step 5: Dry the Keyboard | Allow the keyboard to air dry completely. Place it in a well-ventilated area, and consider using a fan to speed up the process. |
| Step 6: Clean Internal Components | If the spill was minimal and you feel comfortable, use compressed air to blow out any remaining liquid from the keyboard's internal parts. Be cautious and precise to avoid damage. |
| Step 7: Reassemble (if disassembled) | Once the keyboard is completely dry, carefully reassemble any removed parts. Ensure they are securely in place. |
| Prevention | Keep liquids away from keyboards and use spill-resistant models when possible. Regularly clean keyboards to prevent buildup and potential damage. |
What You'll Learn
- Step 1: Immediate Action - Act quickly to prevent further damage by turning off the keyboard and unplugging it
- Step 2: Power Down - Power off the keyboard and unplug it to avoid electrical hazards and short circuits
- Step 3: Soft Brushing - Gently use a soft brush to remove loose debris and excess liquid from the keys and gaps
- Step 4: Cleaning Solution - Apply a mild, alcohol-free cleaning solution to a microfiber cloth and wipe down the keyboard
- Step 5: Drying - Allow the keyboard to air dry completely, ensuring no moisture remains to prevent corrosion
![]()
Step 1: Immediate Action - Act quickly to prevent further damage by turning off the keyboard and unplugging it
When you accidentally spill beer on your keyboard, time is of the essence. The first step in the cleanup process is to act swiftly to prevent further damage. Here's what you should do immediately:
Turn off the Keyboard: Power down your device immediately. This is crucial because it prevents any potential short circuits that could occur when liquid comes into contact with the electrical components. Simply press and hold the power button until the device shuts down. If your keyboard is connected to a laptop, ensure the laptop is also powered off to avoid any electrical hazards.
Unplug the Keyboard: If your keyboard is plugged into a computer or a charger, unplug it immediately. This step is essential to prevent any electrical damage and to ensure your safety. Unplugging the keyboard will also give you more flexibility in the cleaning process, as you won't have to worry about the keyboard still being connected to a power source.
By taking these immediate actions, you'll minimize the potential damage caused by the beer spill and set the stage for a more effective cleanup process. Remember, quick action can make a significant difference in preserving your keyboard's functionality and longevity.
Franconia Lager: A Guide to Germany's Classic Beer Style
You may want to see also
![]()
Step 2: Power Down - Power off the keyboard and unplug it to avoid electrical hazards and short circuits
When dealing with a keyboard that has been exposed to a beer spill, it's crucial to prioritize safety and take immediate action to prevent further damage. The first step is to ensure that you power down the keyboard and unplug it from the power source. This is an essential step to avoid any electrical hazards or short circuits, which could potentially cause further damage to the device and pose a risk to anyone handling it.
Powering off the keyboard is a straightforward process. Most modern keyboards have a power button, often located on the top or side of the device. Simply press and hold this button for a few seconds until the keyboard turns off. If your keyboard has a dedicated power switch, locate it and switch it to the 'off' position. This ensures that the keyboard is no longer drawing power and reduces the risk of any electrical issues.
Unplugging the keyboard is an additional safety measure. If your keyboard is connected to a computer or other device via a cable, carefully unplug the cable from both the keyboard and the corresponding port on your computer. This action prevents any potential short circuits that could occur when liquid comes into contact with the keyboard's internal components. It's important to handle the cable with care to avoid any damage to the connector or the keyboard itself.
By powering down and unplugging the keyboard, you create a safe environment for cleaning and minimize the risk of further damage. This step is crucial as it allows you to work on the keyboard without the worry of electrical hazards, making the cleaning process more manageable and safer. Remember, when dealing with electronic devices and spills, taking these precautions is essential to ensure a successful and safe cleaning process.
Beer Line Cleaning: Do You Need a License?
You may want to see also
![]()
Step 3: Soft Brushing - Gently use a soft brush to remove loose debris and excess liquid from the keys and gaps
After you've addressed the immediate spill and dried the keyboard, it's time to focus on the delicate process of soft brushing. This step is crucial to ensure you don't cause any further damage to the keyboard's components. Here's a detailed guide on how to proceed:
Step 3: Soft Brushing
Gently use a soft brush, such as a toothbrush or a specialized keyboard brush, to remove any loose debris and excess liquid from the keys and the gaps between them. This step is essential to prevent further damage and ensure a thorough clean. Here's a breakdown of the process:
- Choose the Right Brush: Opt for a soft-bristled brush to avoid scratching the keyboard's surface. A toothbrush or a specialized keyboard brush with fine bristles is ideal. Ensure the brush is clean before you begin.
- Gently Brush Each Key: Carefully brush each keycap and the surrounding area. Pay close attention to the gaps between the keys, as these areas can accumulate spilled liquid and debris. Use gentle, circular motions to avoid applying too much pressure.
- Remove Excess Liquid: As you brush, you'll likely notice some liquid being released from the keyboard. This is normal and indicates that the liquid is being lifted from the keycaps and the mechanism beneath. Continue brushing until you've removed as much liquid as possible.
- Focus on Problem Areas: If there are specific areas where the liquid has seeped deeper, use a cotton swab or a small, soft cloth to gently wipe these spots. Be extra careful around the keyboard's edges and any ports or openings to avoid damage.
- Rinse and Dry: After brushing, rinse your brush or cloth to remove any remaining liquid or debris. Ensure you don't use any harsh chemicals or abrasive materials that could damage the keyboard. Allow the keyboard to air dry completely before reassembling or using it.
Remember, the goal of this step is to carefully remove any remaining liquid and debris without causing further damage. Take your time and be gentle to ensure a successful clean.
Beer-Stained Carpet? Here's How to Get It Clean Again!
You may want to see also
![]()
Step 4: Cleaning Solution - Apply a mild, alcohol-free cleaning solution to a microfiber cloth and wipe down the keyboard
After you've carefully removed the liquid and debris from your keyboard, it's time to tackle the cleaning process. Step 4 focuses on creating an effective cleaning solution that is gentle yet powerful enough to eliminate any remaining stains and odors.
For this step, you'll need a mild, alcohol-free cleaning solution. Alcohol can be harsh on certain materials and may damage your keyboard, so it's best to opt for a non-alcoholic alternative. You can either purchase a specialized keyboard cleaning solution or create your own. A simple and effective option is to mix a few drops of dish soap with warm water. Dish soap is mild and can cut through grease and grime without being too aggressive. Alternatively, you can use a small amount of vinegar diluted in water, which is a natural disinfectant.
Take a microfiber cloth and dip it into the cleaning solution. Ensure it's damp but not soaking wet. Microfiber cloths are excellent for this task as they are highly absorbent and can pick up dirt without scratching the keyboard's surface. Squeeze out any excess liquid to avoid dripping, and then gently wipe down the entire keyboard. Pay close attention to the keys and any crevices where the spill might have reached. Move the cloth in a circular motion to ensure you're covering all areas.
Remember to be gentle and avoid applying too much pressure, especially when cleaning the delicate areas around the keys. If you encounter stubborn stains, you can apply a bit more pressure, but always be cautious to prevent any damage. Once you've wiped down the entire keyboard, allow it to air dry completely before using it again. This step is crucial to ensure that no moisture remains, which could potentially cause further issues.
Beer's Impact: Does It Cleanse Your Body?
You may want to see also
![]()
Step 5: Drying - Allow the keyboard to air dry completely, ensuring no moisture remains to prevent corrosion
Once you've thoroughly cleaned your keyboard after a beer spill, the next crucial step is to ensure it's completely dry to prevent any potential damage. Moisture can lead to corrosion, which can cause long-term issues with your keyboard's functionality. Here's a detailed guide on how to properly dry your keyboard:
Step 5: Drying
- Air Drying: The most effective way to dry your keyboard is by allowing it to air dry naturally. Place the keyboard in a well-ventilated area, ensuring it's in a spot where air can circulate freely around it. Avoid placing it in direct sunlight, as this can cause the remaining moisture to evaporate too quickly, potentially leading to the formation of water spots or streaks. Instead, opt for a cool, shaded area.
- Patience is Key: Allow ample time for the keyboard to dry completely. This process can take several hours, depending on the amount of liquid spilled and the environment's humidity. You can speed up the drying process by gently patting the keyboard's surface with a soft, absorbent cloth, but be very careful not to apply too much pressure, as this might damage the keyboard's components.
- Check for Moisture: Before considering the keyboard completely dry, inspect it for any signs of moisture. Pay close attention to the keys, the spaces between them, and the underside of the keyboard. If you notice any wet spots or a lingering musty smell, it's essential to continue the drying process. You can use a hairdryer on a low setting to accelerate the drying, but be cautious not to direct the heat at any one spot for too long, as this could cause damage.
- Prevent Corrosion: Moisture can lead to corrosion, especially in the keyboard's delicate electronic components. To prevent this, ensure that no moisture remains on the keyboard. You can use a soft cloth to gently wipe down the surface, removing any visible water droplets. Be gentle to avoid scratching the keyboard's finish.
- Final Inspection: Once the keyboard feels dry to the touch and there's no visible moisture, perform a final inspection. Test the keyboard by typing and navigating through your computer. Ensure all functions are working correctly, and there are no unusual noises or delays. If everything seems normal, your keyboard is now ready for use.
Mastering Beer Maintenance: The Spout Cleaning Guide
You may want to see also
Frequently asked questions
Act quickly! Turn off your computer and unplug the keyboard to prevent any potential electrical hazards. Gently wipe away any excess liquid with a soft cloth, being careful not to push liquid further into the keys or into the keyboard's internal components.
Start by using a soft cloth to gently remove any remaining liquid. Then, mix a mild dish soap with warm water and use a clean cloth to apply this solution to the keyboard, wiping gently. For stubborn stains, you can use a cotton swab dipped in isopropyl alcohol, but be cautious not to let it come into contact with the keyboard's internal parts. Finally, allow the keyboard to air dry completely before using it again.
It depends on the extent of the spill and the time it took to address it. If the spill was minor and you acted quickly, the keyboard might still function. However, if liquid has seeped into the keyboard's internal components, it may not work properly. In such cases, it's best to consult a professional technician or consider replacing the keyboard to ensure optimal performance and prevent further damage.