Putting a beer cap back on a bottle can be a tricky task, especially when you're in a hurry or the cap is stubborn. Here's a simple guide to help you master this skill. First, ensure you have a firm grip on the cap and the bottle. Then, align the cap's opening with the bottle's opening, making sure the threads on the cap match the threads on the bottle. Gently twist the cap onto the bottle, using a steady and even motion. If the cap is difficult to place, try warming the bottle slightly to make the glass more pliable. Finally, secure the cap by giving it a final twist, ensuring it's snug and won't fall off. With a bit of practice, you'll be able to effortlessly put a beer cap back on, even in the middle of a party!
What You'll Learn
- Grasp the Cap: Hold the cap firmly, aligning the tab with the bottle's opening
- Angle and Force: Tilt the cap slightly, then apply gentle pressure to snap it back
- Tab Alignment: Ensure the tab is centered and the cap's edges match the bottle's rim
- Smooth Transition: Gradually release pressure to avoid a loud pop
- Secure and Enjoy: Verify the cap is on tight, then savor your beer
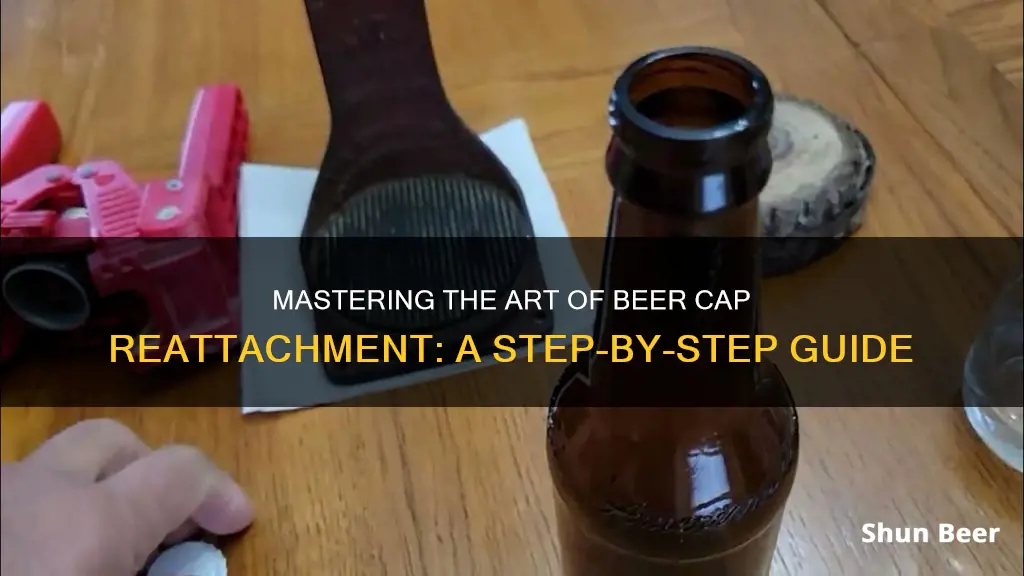
![]()
Grasp the Cap: Hold the cap firmly, aligning the tab with the bottle's opening
Grasping the cap firmly is the first crucial step in the process of replacing a beer cap. This initial hold sets the foundation for the rest of the procedure, ensuring that you have control and precision when aligning the cap with the bottle's opening. Begin by taking a firm grip on the cap with your thumb and forefinger. Position your thumb on the bottom of the cap, providing a stable base, while your forefinger wraps around the side, offering additional support. This grip ensures that you have the necessary control to manipulate the cap without losing its position.
The next step is to align the tab, a small protruding piece on the cap, with the bottle's opening. The tab is designed to interlock with the bottle's neck, creating a secure seal. To achieve this, gently but firmly press the tab towards the bottle's opening. You should feel a slight resistance as the tab starts to align with the groove in the bottle's neck. This action ensures that the cap is not only on but also properly seated, preventing any air from entering the bottle.
Maintaining a firm grip throughout this process is essential. It allows you to apply the necessary pressure to the tab without forcing it, which could damage the cap or the bottle. By holding the cap firmly, you also ensure that the tab remains in the correct position, making it easier to insert the cap into the bottle's opening. This step is particularly important as it sets the stage for a successful and tight seal.
As you press the tab towards the bottle, pay attention to the direction of the bottle's opening. The tab should align with the groove in the bottle's neck, which is typically a small indentation or channel. This alignment is crucial for creating an airtight seal. If the tab is not properly aligned, the cap may not fit snugly, leading to potential leaks or an incomplete seal.
Remember, the goal is to create a secure and airtight connection between the cap and the bottle. By grasping the cap firmly and aligning the tab with the bottle's opening, you are taking the essential steps to ensure that your beer remains fresh and carbonated. This simple yet effective technique will help you master the art of replacing beer caps with ease.
Understanding Legal Limits: Beer and Driving
You may want to see also
![]()
Angle and Force: Tilt the cap slightly, then apply gentle pressure to snap it back
When trying to replace a beer cap, the angle and force you use are crucial for a successful closure. Here's a step-by-step guide to mastering this technique:
Tilt and Position: Begin by holding the bottle with one hand and the cap in the other. Tilt the cap slightly backward, creating a small angle between the cap and the bottle's surface. This initial tilt is essential as it prepares the cap for the upcoming snap. The angle should be subtle, ensuring the cap doesn't fall off during this process.
Apply Gentle Force: Now, for the crucial part: applying the right amount of force. Take a deep breath and exhale slowly as you press the cap firmly onto the bottle. The key here is 'gentle' pressure. You want to snap the cap back into place with a satisfying click, not force it so hard that you risk damaging the cap or the bottle. Imagine the motion of a spring returning to its original shape—that's the ideal force to apply.
Technique Refinement: Practice is key to mastering this skill. Some people find it helpful to visualize the cap as a delicate puzzle piece that needs to fit perfectly. Others might benefit from a gentle, rhythmic tapping motion on the cap before applying the final force. Experiment with different angles and forces to find what works best for you and the specific type of beer cap you're dealing with.
Remember, the goal is to create a seamless closure without forcing the cap, which could lead to warping or damage. With a bit of practice and the right technique, you'll be able to effortlessly put beer caps back on, ensuring your drinks stay fresh and ready to enjoy!
Uncorking the Mystery: Raw Eggs in Beer, Fact or Fiction?
You may want to see also
![]()
Tab Alignment: Ensure the tab is centered and the cap's edges match the bottle's rim
When trying to replace a beer cap, ensuring proper alignment is crucial for a secure and functional closure. Here's a step-by-step guide focusing on tab alignment:
- Prepare the Cap and Bottle: Start by holding the beer bottle in one hand and the cap in the other. Carefully inspect the cap's tab, which is the small protruding part that fits into the bottle's opening. Look for any signs of damage or wear that might affect its functionality.
- Position the Tab: Hold the bottle in a way that the opening is facing you. Gently lift the tab of the cap and align it with the center of the bottle's opening. The tab should be centered, with equal distance from both sides of the opening. This initial positioning is key to ensuring a proper fit.
- Match the Edges: As you lower the cap onto the bottle, pay close attention to the edges. The cap's edge, particularly the part that wraps around the bottle, should align perfectly with the bottle's rim. Imagine a straight line connecting the cap's edge to the center of the bottle's opening. This alignment ensures a tight seal.
- Apply Firm Pressure: Once the tab is centered and the edges are matched, apply firm, even pressure while rotating the cap clockwise. You should feel a slight resistance as the cap starts to snap into place. Continue turning the cap until it is fully secured, and you hear a satisfying 'click' or feel a firm lock.
- Verify the Fit: After securing the cap, give it a gentle shake to ensure it is tightly sealed. Check that the tab is still centered and that the cap doesn't wobble or come loose easily. If you notice any misalignment or looseness, carefully remove the cap and adjust the tab's position before trying again.
Remember, practice makes perfect. If you're new to this process, don't be discouraged if it takes a few attempts to get the hang of it. With time, you'll develop a sense for the perfect alignment, ensuring your beer caps stay put.
The Perfect Gumbo: Beer's Role in Chicken and Sausage Delight
You may want to see also
![]()
Smooth Transition: Gradually release pressure to avoid a loud pop
When you're in the middle of a refreshing beer session, it's easy to forget the simple art of replacing the cap. The sudden rush of air when you try to re-cork your drink can be quite a surprise, often resulting in a loud pop that might startle those around you. This phenomenon is caused by the rapid release of pressure, which can be avoided with a few simple steps.
The key to a smooth transition is to release the pressure gradually. Start by ensuring the cap is properly aligned with the bottle's opening. A misaligned cap can lead to an uneven seal, causing the air to escape abruptly. Take a moment to check that the cap fits snugly and is centered.
Next, gently press the cap onto the bottle. Avoid applying excessive force, as this can create a sudden, loud pop. Instead, use a steady, firm pressure, allowing the cap to make contact with the bottle's rim without forcing it. This gradual approach ensures that the air is released slowly, preventing the sudden rush that causes the pop.
As you press, you might notice a slight resistance, which is normal. This resistance indicates that the cap is sealing properly. Continue applying pressure until the cap is fully seated, and you should feel a satisfying click or hear a soft, gentle sound, indicating a successful seal.
Remember, the goal is to mimic the natural process of pouring a drink, where the pressure is gradually built up and then released in a controlled manner. By taking your time and applying gentle pressure, you can avoid the loud pop and ensure a smooth, enjoyable drinking experience every time.
Chili Con Beer: A Tasty Twist or a Recipe Disaster?
You may want to see also
![]()
Secure and Enjoy: Verify the cap is on tight, then savor your beer
The process of securing a beer cap back onto your beverage is an art that requires a bit of practice and attention to detail. Here's a step-by-step guide to ensure a tight and secure seal:
Start by holding the bottle with one hand and the cap in the other. Position the cap's rim so it aligns with the bottle's opening, ensuring a direct and smooth connection. Apply gentle pressure to the cap, moving it downward and onto the bottle. The goal is to create a snug fit, so take your time and apply steady force. You'll feel the cap start to seal as you reach the bottom of the bottle.
As you continue, you might notice that the cap has a slight indentation or groove around its base. This design feature is crucial for a secure seal. When the cap is firmly in place, this indentation should be flush with the bottle's surface, creating a continuous and smooth exterior. If you feel any gaps or resistance, it indicates that the cap might not be seated correctly.
To ensure the cap is on tight, give it a gentle twist. You should feel a satisfying click or hear a soft 'snap' as the cap locks into place. This mechanism is often designed to provide a secure seal, ensuring that no precious beer escapes. If you don't hear this click or feel the resistance, it's a sign that the cap might not be on as tightly as you'd like.
Once you've confirmed the cap is secure, it's time to savor your beer. Enjoy the taste and the satisfaction of a well-sealed beverage. Remember, the art of putting a beer cap back on is not just about functionality but also about enhancing the overall beer-drinking experience. So, take your time, appreciate the process, and let the flavors unfold.
Uncork the Truth: Beer and the Heavy Metal Hazard
You may want to see also
Frequently asked questions
Start by aligning the cap's center with the bottle's opening. Gently push the cap onto the bottle, moving it from the bottom up. Ensure the cap is seated firmly and securely attached.
If the cap is stubborn, try warming the bottle and cap slightly. This can make the plastic more pliable and easier to insert. Alternatively, you can use a small tool like a bottle opener to gently pry the cap off and then replace it.
Yes, beer caps are designed to be reusable. However, over time, they may become damaged or lose their sealing properties. If the cap shows signs of wear and tear, it's best to replace it to ensure proper sealing and prevent any potential contamination.
Keep your beer caps in a dry and clean place to maintain their integrity. You can store them in a small container or a dedicated cap holder. Avoid exposing them to extreme temperatures or moisture, as this can affect their performance.
If the cap is damaged, it's best to replace it. A cracked or broken cap may not provide an effective seal, leading to potential spoilage. Always have a spare cap ready to ensure your beer stays fresh.