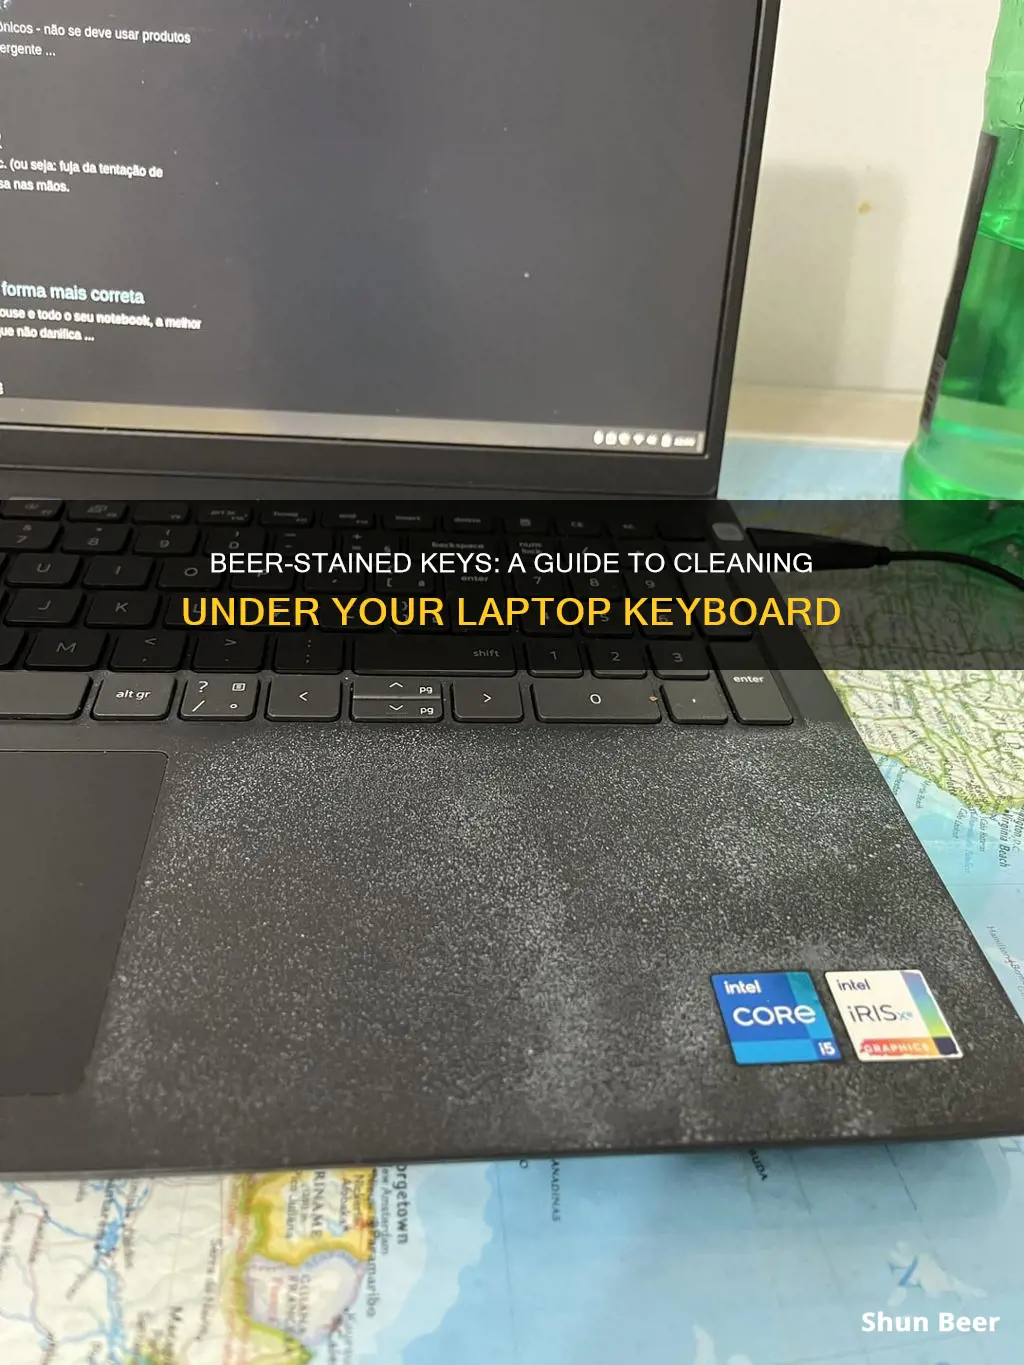
Cleaning beer stains from under a laptop keyboard can be a tricky task, but with the right approach, it's definitely achievable. Here's a quick guide on how to tackle this messy situation. First, gently remove any loose debris with a soft brush or compressed air. Then, use a mixture of dish soap and warm water to create a gentle cleaning solution. Apply this solution to a microfiber cloth and wipe down the affected areas, being careful not to damage the keyboard. For stubborn stains, a cotton swab dipped in isopropyl alcohol can be used, but be cautious as it can damage certain keyboard materials. Finally, allow the area to air dry completely before reassembling the laptop.
| Characteristics | Values |
|---|---|
| Cleaning Agent | Isopropyl alcohol, vinegar, or a mixture of dish soap and water |
| Brush | Soft-bristled toothbrush or a small brush |
| Absorbent Material | Cotton balls, paper towels, or a soft cloth |
| Safety Precautions | Unplug the laptop, turn it off, and ensure no power is connected |
| Process | 1. Absorb excess liquid with a cloth. 2. Apply a small amount of cleaning agent. 3. Gently brush the affected area. 4. Wipe clean with a dry cloth. |
| Drying | Allow the area to air dry completely or use a soft cloth to pat dry |
| Avoid | Using excessive force or sharp objects to prevent damage to the keyboard |
| Additional Tips | Regularly clean your laptop to prevent future spills and use a protective case for added safety. |
What You'll Learn
- Preparation: Gather tools: soft cloth, compressed air, isopropyl alcohol
- Initial Cleaning: Use compressed air to blow out loose debris
- Alcohol Application: Carefully pour isopropyl alcohol onto a cloth
- Wipe and Rinse: Gently wipe the keyboard, avoiding liquid contact
- Drying and Final Touches: Allow to air dry; use a soft brush for remaining dust
![]()
Preparation: Gather tools: soft cloth, compressed air, isopropyl alcohol
To effectively clean beer stains and residue from under your laptop keyboard, it's essential to gather the right tools and materials. Here's a detailed guide on the preparation stage:
Soft Cloth: Start by acquiring a clean, lint-free cloth. Microfiber cloths are ideal as they are highly absorbent and gentle on surfaces. This cloth will be used to wipe away any visible liquid and to gently clean the keyboard. Ensure it is soft to avoid scratching the delicate components.
Compressed Air: Compressed air cans are a powerful tool for this task. Look for cans that contain compressed nitrogen or air, which is effective at removing debris and liquid without causing damage. This is crucial for reaching the tight spaces between keys and under the keyboard.
Isopropyl Alcohol: This is a must-have cleaning agent. Isopropyl alcohol, commonly known as rubbing alcohol, is highly effective at dissolving and removing sticky substances and stains. It's a powerful solvent that can break down the beer's residue. Ensure you get a high-quality, pure form of isopropyl alcohol for optimal results.
Before proceeding with the cleaning process, make sure to read the instructions on the compressed air can to ensure safe usage. Always test any cleaning agent on a small, inconspicuous area of the keyboard first to check for any adverse reactions.
Uncovering the Mystery: Why Beer's Bottom Shelf Appeal to Men
You may want to see also
![]()
Initial Cleaning: Use compressed air to blow out loose debris
When dealing with a beer-stained laptop keyboard, the initial step is crucial to ensure you don't cause further damage or spread the spill. One of the most effective and gentle ways to start the cleaning process is by using compressed air. This method is particularly useful because it allows you to reach into tight spaces and blow out loose debris without applying any pressure that could potentially harm the delicate components of your laptop.
Here's a step-by-step guide on how to use compressed air for initial cleaning:
- Gather Your Tools: You'll need a can of compressed air designed for electronic devices. Ensure it is specifically labeled for use in sensitive electronics to avoid any potential harm.
- Hold the Can Upright: Position the can of compressed air so that it is pointing directly at the gaps between the keys. Hold it a few inches away to ensure you're not spraying too close to the keyboard's surface.
- Apply the Air: Press the trigger to release a steady stream of compressed air. Hold the can steady and move it slightly from side to side to ensure that you're blowing air into all the nooks and crannies. This will help dislodge any loose beer residue, crumbs, or dust.
- Be Mindful of the Direction: When using compressed air, be cautious not to spray directly onto any electrical components. Focus on the spaces between the keys and the areas where the spill might have reached.
- Repeat as Needed: If you notice that the keyboard is still dirty or there's a lingering smell, repeat the process. You can also use a soft brush or a cotton swab to gently remove any remaining debris after using the compressed air.
This initial cleaning step is vital as it prepares the keyboard for more thorough cleaning methods that might be required if the spill has affected the internal components. It's a gentle yet effective way to start the process of getting your laptop keyboard back to its original condition.
The Ideal Appearance of Beer During Fermentation: A Guide
You may want to see also
![]()
Alcohol Application: Carefully pour isopropyl alcohol onto a cloth
When dealing with a beer spill under your laptop keyboard, it's crucial to act quickly to prevent any further damage. The first step is to turn off your computer immediately to avoid any potential short circuits or damage to the internal components. Once the machine is powered down, carefully remove any loose debris or residue from the keyboard using a soft-bristled toothbrush or a small, clean brush. This initial step helps to remove any large particles and prepares the area for the cleaning process.
Next, you'll want to use a cleaning agent that is gentle yet effective. Isopropyl alcohol is an excellent choice for this task as it is a powerful solvent that can dissolve and lift away the beer stains. Carefully pour a small amount of isopropyl alcohol onto a clean, soft cloth. Ensure that the cloth is damp but not soaking wet, as you want to avoid any excess liquid that could seep into the keyboard. The alcohol will help to break down the beer residue, making it easier to wipe away.
Using the damp cloth, gently rub the affected areas of the keyboard, working from the outside in to prevent any potential spreading of the stain. Apply light pressure and move the cloth in a circular motion to effectively lift the stain. Be cautious and precise in your movements to avoid any damage to the keyboard's delicate components. If the stain persists, you can repeat the process, ensuring that you don't saturate the keyboard with alcohol.
After cleaning, allow the keyboard to air dry completely. You can speed up the drying process by using a soft hairdryer on a low setting, directing the air towards the cleaned areas. Once dry, power on your laptop and test the keyboard to ensure that all functions are normal. This method of cleaning is gentle yet effective, ensuring your laptop's longevity and a thorough clean.
Fermenting Beer: Optimal Storage Solutions for Your Brew
You may want to see also
![]()
Wipe and Rinse: Gently wipe the keyboard, avoiding liquid contact
If you've accidentally spilled beer on your laptop keyboard, it's important to act quickly to prevent further damage. The first step is to turn off your laptop immediately to avoid any potential short circuits. Once you've done that, it's time to start the cleaning process.
Gently wipe the keyboard with a soft, lint-free cloth or a cotton swab. Avoid using any harsh chemicals or abrasive materials, as these can damage the delicate components of your keyboard. Work carefully, as you want to remove the beer stains without dislodging any keys or causing further mess. You can use a mild detergent or dish soap mixed with warm water as a cleaning agent, but be very cautious and ensure the solution is well-diluted to avoid any potential harm to the laptop's internal components.
When wiping, pay close attention to the gaps between the keys and the areas under the keys, as these are common places for liquid to accumulate. You might need to use a small brush or a compressed air can to blow out any remaining liquid or debris. Remember, the goal is to remove the beer without causing any damage or leaving behind residue that could attract more dirt.
After wiping, it's crucial to rinse your hands and any used cloths or swabs immediately to prevent the spread of bacteria and to ensure a thorough cleaning. Once you've finished wiping, allow the keyboard to air dry completely before reassembling or using the laptop. This process might take a few hours, so be patient and give your laptop the time it needs to dry properly.
By following these steps, you can effectively clean beer stains from your laptop keyboard, ensuring the longevity and proper functioning of your device. Always remember to be gentle and take your time to avoid any potential mishaps.
Fermentation Fun: 5 Engaging Activities for Your Brewing Break
You may want to see also
![]()
Drying and Final Touches: Allow to air dry; use a soft brush for remaining dust
After you've removed the liquid and any loose debris from under your laptop keyboard, the next crucial step is to ensure that the area is thoroughly dried. This process is essential to prevent any further damage to the sensitive components and to avoid any lingering odors.
One of the most effective ways to dry the area is by using natural air drying. Place your laptop in a well-ventilated room and leave it undisturbed for at least 24 hours. The air circulation will help to evaporate any remaining moisture. Avoid using heat sources like hairdryers or ovens, as they can potentially damage the keyboard and other components.
While waiting for the area to air dry, you can take additional steps to ensure a thorough clean. Use a soft-bristled brush, such as an old toothbrush, to gently remove any remaining dust or debris. Be extra careful around the delicate keyboard keys and any small openings or vents. The brush will help to dislodge any stubborn particles that might still be present.
Remember, patience is key during this process. Allow sufficient time for the area to dry completely, and be cautious when using any tools to avoid causing further damage. Once you're satisfied that the area is dry and free from any visible residue, you can proceed to reassemble your laptop, ensuring that all components are properly aligned and secure.
Unlocking Flavor: The Ideal Yeast Fermentation Temperature for Beer
You may want to see also
Frequently asked questions
Start by gently drying the area with a soft cloth to absorb any excess liquid. Then, use a cotton swab or a small brush to carefully apply isopropyl alcohol or a mixture of vinegar and water to the stain. Let it sit for a few minutes, and gently wipe it away with a clean cloth. Repeat if necessary, being cautious not to damage the keyboard.
Yes, it's important to be cautious when cleaning under the keyboard to avoid any potential damage. Use soft, non-abrasive materials and avoid excessive moisture. For stubborn stains, a small amount of dish soap mixed with water can be used, but ensure it's thoroughly dried afterward.
Yes, a small handheld vacuum or a soft brush attachment on a vacuum can be used to gently remove any loose debris and liquid residue from the keyboard. Be careful not to apply too much suction pressure to avoid any potential damage.
If the stain remains, consider seeking professional help or using a specialized keyboard cleaning kit. These kits often include compressed air cans to blow away any remaining residue and soft brushes for gentle cleaning. Always follow the manufacturer's instructions for your laptop model.
Always keep your laptop in a safe, spill-proof location. Consider using a keyboard cover or a protective case to shield the keyboard from accidental spills. Additionally, be mindful of your surroundings when consuming beverages around your laptop.