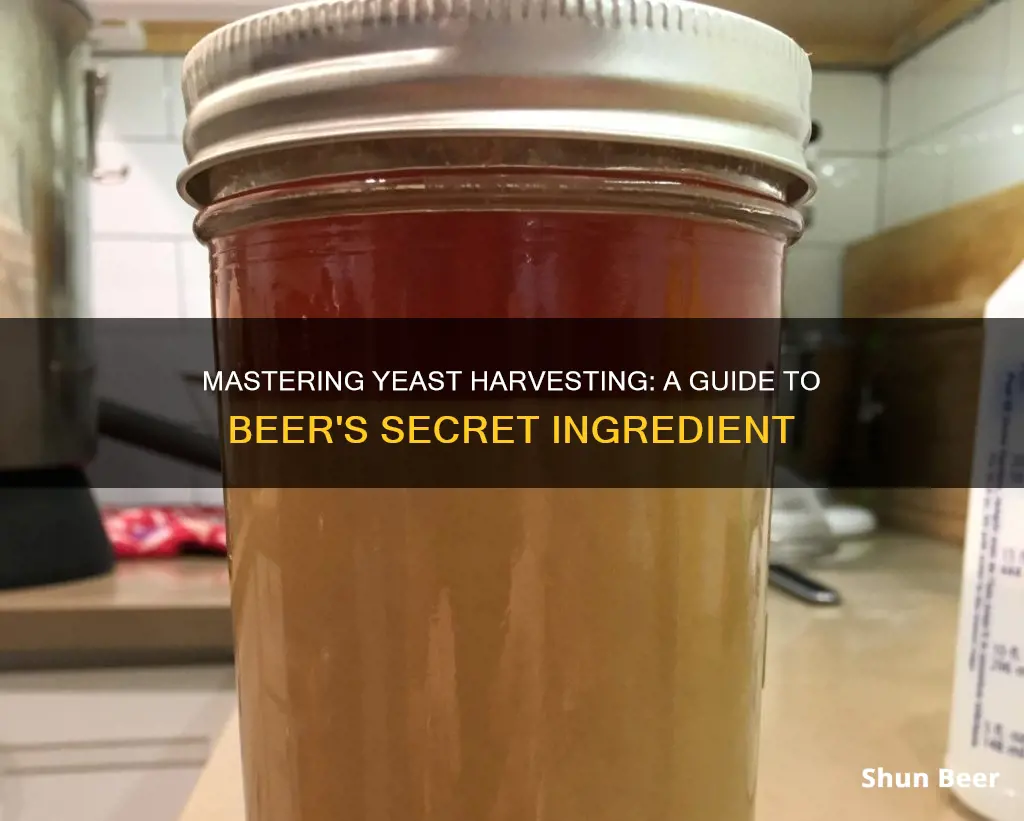
Harvesting yeast from beer is a process that depends on the type of yeast and your fermenting equipment. If you have a fermenter that is easily accessed from the top and are using ale yeast, you can skim some yeast off the surface of the beer during active primary fermentation. Alternatively, you can wait for the primary fermentation to subside and rinse some of the trub layer away with sterile water before collecting a sample of yeast. You can then deposit the harvested yeast into a sanitized container, attach a loose-fitting lid or airlock and place it in the refrigerator.
| Characteristics | Values |
|---|---|
| Find an unfiltered beer | The yeast hasn't been filtered out |
| Let the bottle sit in the fridge | A few days |
| Open the beer | Sanitize the lip of the bottle/can with a flame |
| Pour the beer | Leave about ¼ of the beer still in the bottle or can |
| Define how many cells you'll need | Use a larger starter than necessary |
| Make your starter | Harvest in a sanitized vessel |
| Pitch the remaining yeast | Into your beer |
| Package | Store |
| Cold crash | 5 liter erlenmeyer flask |
| Let white layer of yeast cells flocculate | To the bottom |
| Carefully decant 75% of the beer | Leaving behind only 25% or so |
| Leave it set | In an area that’s around 70 degrees |
What You'll Learn
![]()
Define how many cells you'll need
Define how many cells you’ll need, and make sure you use a larger starter than necessary to “overbuild” the cell count. Most material I’ve read recommends using harvested yeast within a few weeks of collection. But Ive also heard of people using it months later. On brew day, I usually cold crash my 5 liter erlenmeyer flask early in the morning, let white layer of yeast cells flocculate to the bottom, carefully decant 75% of the beer leaving behind only 25% or so, then I leave it set in an area that’s around 70 degrees.
Uncover the Potential: Why Boston Beer Stock is a Wise Investment
You may want to see also
![]()
Make a starter using DME
To make a starter using DME, first, you need to define how many cells you’ll need. Make sure you use a larger starter than necessary to “overbuild” the cell count. Harvest in a sanitized vessel, then pitch the remaining yeast into your beer.
DME is cheap, so it is recommended to give it a try. Make a starter using DME, cool it off, and let your harvested yeast warm up to within 5-10 degrees of the starter and pitch (maybe 72 to 74 degrees). Let the yeast do its work and once fermentation subsides and settles to the bottom, try decanting the beer off the top, pouring it into a cup, and tasting it.
Most material recommends using harvested yeast within a few weeks of collection. But it has also been heard of people using it months later. High gravity batches have more osmotic pressure and can impair yeast health and viability. If cells begin to deviate from their original strain and you continue to harvest and build more generations, those mutations can continue to grow and flourish in the sample.
Find Your Brew: Top Spots to Buy Vounu Beer
You may want to see also
![]()
Cold crash your 5-liter flask
Cold crashing is a method used to harvest yeast from beer. It involves placing a 5-liter flask in an area that is around 70 degrees and letting the white layer of yeast cells flocculate to the bottom. Carefully decant 75% of the beer, leaving behind only 25% or so, and then let the yeast settle.
This method is useful for harvesting yeast from a slurry of a previous batch, which can be combined with other strains to make a starter. However, it is important to note that yeast can mutate over time, and high gravity batches can impair yeast health and viability.
When harvesting yeast, it is crucial to sanitize the vessel and use a larger starter than necessary to "overbuild" the cell count. This ensures that the yeast is healthy and viable.
Most sources recommend using harvested yeast within a few weeks of collection, but some people have used it months later with success. It is also important to note that yeast can be sensitive to temperature, and cooling it off before pitching it into a new batch can help it settle and ferment more effectively.
Overall, cold crashing is a useful method for harvesting yeast from beer, but it is important to follow proper sanitation and temperature control practices to ensure the best results.
Unveiling the Mystery: Does Beer Ferment in the Dark?
You may want to see also
![]()
Let the yeast cells flocculate
Cold crashing is a method of harvesting yeast from beer. On brew day, you can cold crash your 5-liter erlenmeyer flask early in the morning. Let the white layer of yeast cells flocculate to the bottom of the flask. Carefully decant 75% of the beer leaving behind only 25% or so, then leave it set in an area that’s around 70 degrees.
The yeast cells will flocculate to the bottom of the flask. Carefully decant 75% of the beer leaving behind only 25% or so, then leave it set in an area that’s around 70 degrees.
Most material I’ve read recommends using harvested yeast within a few weeks of collection. But I’ve also heard of people using it months later. Make a starter using DME, cool it off, and let your harvested yeast warm up to within 5-10 degrees of the starter and pitch (maybe 72 to 74 degrees). Let the yeast do its work and once fermentation subsides and settles to the bottom, try decanting the beer off the top, pouring it into a cup, and tasting it. See if you can detect any off-flavors.
Define how many cells you’ll need, and make sure you use a larger starter than necessary to “overbuild” the cell count. Make your starter, harvest in a sanitized vessel, then pitch the remaining yeast into your beer. Package, store, repeat.
If you harvest yeast from the slurry of a previous batch and something found its way into the batch, your basically combining those strains and making a starter out of them, then pitching them into a new batch. This could, at worst, ruin a batch and possibly fermenter, and at best, might hurt the quality of your finished beer. Yeast also changes mutates over time. High gravity batches have more osmotic pressure and can impair yeast health and viability. If cells begin to deviate from their original strain and you continue to harvest and build more generations, those mutations can continue to grow and flourish in the sample.
Find Your Local Yanjing Beer: A Guide to Buying Chinese Craft Beer
You may want to see also
![]()
Decant 75% of the beer
Decanting the beer is the process of pouring the beer off the top and leaving the yeast behind. This is done to remove the yeast from the beer and prevent it from fermenting further.
Decanting 75% of the beer is a common practice in homebrewing and professional brewing to harvest yeast and use it in future batches. This process is called yeast harvesting and is a way to recycle yeast and save money on yeast costs.
When decanting 75% of the beer, it is important to use a sanitized vessel to prevent contamination. Make sure you use a larger starter than necessary to “overbuild” the cell count.
Decanting 75% of the beer is a simple and effective way to harvest yeast and use it in future batches. This process is a common practice in homebrewing and professional brewing to recycle yeast and save money on yeast costs.
Beers Day: A Global Celebration of Craft Beer
You may want to see also
Frequently asked questions
The best way to harvest yeast from beer depends on the type of yeast and your fermenting equipment. If you have a fermenter that is easily accessed from the top and are using ale yeast, simply skim some yeast off the surface of the beer during active primary fermentation.
Find an unfiltered beer so that the yeast hasn't been filtered out. Let the bottle sit in the fridge for a few days so that the yeast can settle to the bottom of the bottle. Open the beer and sanitize the lip of the bottle/can with a flame. Pour the beer and leave about a quarter of the beer still in the bottle or can.
There is an increased chance of infection if you harvest yeast from the slurry of a previous batch. This could ruin a batch and possibly fermenter, and at best, might hurt the quality of your finished beer.
Define how many cells you'll need, and make sure you use a larger starter than necessary to "overbuild" the cell count. Make your starter, harvest in a sanitized vessel, then pitch the remaining yeast into your beer.