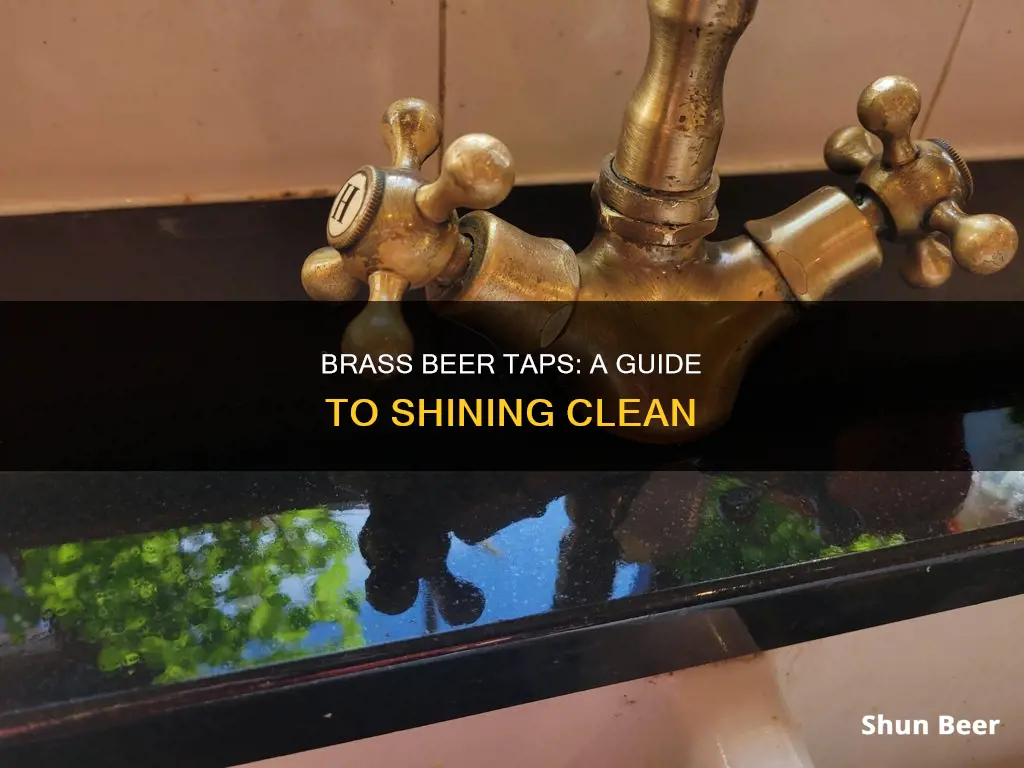
Cleaning brass beer taps is essential to maintaining the quality of your beer and ensuring a smooth, enjoyable drinking experience. Over time, brass taps can accumulate dirt, grime, and mineral deposits, which can affect the taste of your beer and even lead to clogs. This guide will provide a step-by-step process to effectively clean brass beer taps, ensuring they remain in top condition and continue to serve your favorite brews with excellence.
What You'll Learn
- Prepare the Taps: Gather cleaning supplies and wear protective gear
- Disassemble Taps: Carefully remove parts like the spout and handle
- Scrub and Rinse: Use a brass cleaner and a soft brush to scrub
- Dry Thoroughly: Ensure all parts are dry to prevent rust
- Reassemble and Test: Put the taps back together and check for leaks
![]()
Prepare the Taps: Gather cleaning supplies and wear protective gear
Before you begin the cleaning process, it's crucial to gather the necessary supplies and ensure you're protected. Cleaning brass beer taps requires a few specific tools and some personal safety measures.
First, you'll need a mild acid-based cleaner designed for brass. These cleaners are typically available at hardware or home improvement stores. Look for products that are specifically labeled for brass cleaning, as they will be less harsh and more effective than general-purpose cleaners. Additionally, you'll require a soft-bristled toothbrush or a specialized brass brush, which will help you scrub the taps gently without scratching the surface.
Gloves are essential to protect your hands from any potential irritation or chemical contact. Opt for gloves made from a breathable material like cotton or a natural fiber to ensure comfort during the cleaning process. Safety goggles are also recommended to shield your eyes from any splashes or fumes that may occur during the cleaning.
It's important to work in a well-ventilated area or outdoors if possible, to minimize the inhalation of any cleaning agents. Ensure you have a clean, dry workspace to avoid any potential accidents or residue buildup. By gathering these supplies and wearing the appropriate protective gear, you'll be well-prepared to tackle the cleaning of your brass beer taps effectively and safely.
Unraveling the Mystery: Is Scotch Fermented Beer?
You may want to see also
![]()
Disassemble Taps: Carefully remove parts like the spout and handle
Disassembling the beer taps is a crucial step in the cleaning process, as it allows you to reach all the nooks and crannies where dirt and grime can accumulate. This process ensures that you can effectively clean and sanitize each component, ensuring the best possible drinking experience. Here's a step-by-step guide on how to carefully remove the parts of your brass beer taps:
Start by ensuring you have the necessary tools, such as a small screwdriver or a tap key (also known as a tap wrench). These tools will help you loosen and remove the various parts without causing any damage. Locate the screws or fasteners that secure the different components together. These are often found at the base of the tap, near the faucet handle, and along the spout. Use your screwdriver to carefully remove these screws, being mindful of their orientation to ensure you can reassemble the tap correctly later.
Once the screws are removed, you should be able to gently pull the spout and handle away from the main body of the tap. The spout is usually the longest part and may require some gentle prying to separate it from the rest of the tap. Take note of how the parts are positioned relative to each other, as this will help you during reassembly. Carefully lift the handle and set it aside. You might find that the handle is connected to a small lever or mechanism inside the tap; be gentle when removing it to avoid any damage.
Now, you should have the main body of the tap and the spout/handle assembly separated. Inspect the inside of the tap for any remaining dirt or residue. Use a soft-bristled brush or a small cleaning tool to gently scrub away any built-up grime. Pay attention to the areas where the spout and handle connect, as these areas can trap dirt and bacteria.
After cleaning the interior, it's time to focus on the removable parts. The spout and handle are often the most accessible components for cleaning. Use a mild detergent or a specialized brass cleaner to remove any remaining dirt. Rinse these parts thoroughly with warm water to ensure no soap residue is left behind. For the handle, you might want to consider disassembling it further to access hard-to-reach areas.
Brewing Red: Techniques for Adding Color to Beer
You may want to see also
![]()
Scrub and Rinse: Use a brass cleaner and a soft brush to scrub
To effectively clean brass beer taps, a thorough scrubbing process is essential. Here's a step-by-step guide to ensure a sparkling clean finish:
Begin by gathering your cleaning supplies. You'll need a gentle brass cleaner specifically formulated for brass surfaces, as harsh chemicals can damage the metal. A soft-bristled toothbrush or a similar brush with fine bristles is ideal for this task, ensuring you can reach into the nooks and crannies of the tap.
Apply a small amount of brass cleaner to a clean cloth or directly onto the tap. Ensure the cleaner is evenly distributed to cover the entire surface. Allow a few minutes for the cleaner to penetrate and loosen any dirt or grime. This step is crucial as it prepares the brass for a thorough cleaning.
Now, it's time to scrub. Using your soft-bristled brush, gently work the cleaner into the tap's surface. Pay close attention to the areas around the spout and any decorative elements, as these spots can accumulate dirt and require extra care. Apply light pressure and use circular motions to scrub away the grime. Be thorough but gentle to avoid scratching the brass.
As you scrub, you'll likely notice the dirt and cleaner being lifted away. Rinse the tap thoroughly with warm water to remove any remaining cleaner and debris. Ensure no residue is left behind, as it could affect the taste of your beer. Dry the tap with a clean cloth to prevent water spots and maintain its shine.
Remember, consistency is key. Regularly cleaning your brass beer taps will keep them in excellent condition, ensuring a smooth flow of beer and a professional appearance. This simple scrubbing and rinsing process will help maintain the tap's longevity and keep your beer-serving experience top-notch.
Is Pacifico Beer a Lager? Unveiling the Truth
You may want to see also
![]()
Dry Thoroughly: Ensure all parts are dry to prevent rust
When it comes to cleaning brass beer taps, one of the most crucial steps is to ensure that all parts are thoroughly dried after the cleaning process. This might seem like an obvious step, but it is often overlooked, leading to potential issues with the tap's performance and longevity. The primary reason for this step is to prevent rust, which can be a common problem with brass components due to the metal's natural tendency to corrode when exposed to moisture.
After cleaning, the tap's surfaces, including the spout, handle, and any internal mechanisms, should be completely dry. Moisture left on these parts can quickly lead to oxidation, a process that not only affects the appearance of the brass but also its functionality. Rust, a result of this oxidation, can cause the tap to become stiff or difficult to operate, and in severe cases, it might even lead to the tap's failure.
To ensure a thorough drying, it is recommended to use a soft cloth or a lint-free towel. Gently wipe down all surfaces, paying extra attention to areas where water might have accumulated, such as the spout and the base of the tap. For hard-to-reach areas, a small brush can be used to remove any remaining water droplets. The goal is to leave no moisture behind, ensuring that the tap is completely dry before reassembling or using it again.
In addition to the visual inspection, you can also use a hairdryer on a low setting to accelerate the drying process. Direct the air flow over the tap's surfaces, ensuring that you cover all areas. However, be cautious not to use a high setting, as this could potentially damage the brass or cause water to be blown into hard-to-reach places, which could then lead to rusting.
By taking the time to dry all parts of the brass beer tap thoroughly, you are taking a proactive approach to maintaining the tap's condition and performance. This simple step can significantly contribute to the longevity of your tap and ensure a consistent, high-quality beer pouring experience.
Fish in Beer: A Surprising Aquatic Adventure
You may want to see also
![]()
Reassemble and Test: Put the taps back together and check for leaks
After cleaning and restoring the brass beer taps, it's crucial to reassemble them properly and conduct a thorough test to ensure they are leak-free and ready for use. This process involves carefully putting the components back together and verifying their functionality. Here's a step-by-step guide to help you through this stage:
Reassembly: Begin by laying out all the parts you've cleaned and prepared. This includes the tap handle, shank, gasket, and any other removable components. Ensure you have a clear understanding of the tap's design and the order in which the parts were removed. Start by attaching the shank to the tap handle, making sure it is securely fitted. Then, carefully slide the gasket onto the shank, ensuring it is positioned correctly. The gasket acts as a seal, so it must be in good condition and properly aligned. Once all the parts are aligned, gently tighten the screws or fasteners to hold everything in place. Take your time during this process to avoid overtightening, which can damage the tap.
Leak Test: After reassembly, it's critical to perform a leak test to ensure the taps are functioning correctly. Fill the tap handle with a small amount of beer or a suitable cleaning solution to simulate the pressure and flow of a real beer pour. You can use a syringe to inject the liquid into the handle. Then, slowly open the tap and observe for any leaks around the gasket and the connection points. Pay close attention to the shank and gasket interface, as this is the primary sealing area. If you notice any leaks, carefully inspect the reassembly to identify the source. It might be necessary to adjust the gasket's position or tighten the screws slightly without causing damage.
When testing, consider the following:
- Pressure: Apply moderate pressure to the tap handle to simulate a real pour. This will help identify any weak points in the seal.
- Flow Control: Adjust the tap's flow control mechanism to ensure it operates smoothly. A well-functioning tap should allow for precise beer flow regulation.
- Repeat Testing: Perform the leak test multiple times to ensure consistency. This helps confirm that the reassembly is secure and the tap is leak-free.
Remember, proper reassembly and testing are essential to guarantee the longevity and performance of your brass beer taps. By following these steps, you can ensure that your taps are not only clean but also ready for use, providing a smooth and enjoyable beer-pouring experience.
The Great Lager vs. Ale Debate: Uncovering the People's Favorite
You may want to see also
Frequently asked questions
It is recommended to clean your brass tap regularly, at least once a month, to maintain its appearance and functionality. Regular cleaning prevents the buildup of dirt, grime, and mineral deposits, ensuring a smooth flow of beer and a pleasant drinking experience.
Cleaning brass taps is a straightforward process. Start by disassembling the tap into its components, including the handle, spout, and any decorative caps. Use a mild detergent or dish soap mixed with warm water to create a soapy solution. Gently scrub each part with a soft-bristled toothbrush or a non-abrasive sponge to remove dirt and stains. Rinse thoroughly with clean water and dry with a soft cloth to prevent water spots.
Yes, vinegar is an excellent natural cleaner for brass. Create a vinegar and water solution (equal parts) and soak the tap components in it for about 15-20 minutes. This will help dissolve mineral deposits and remove any built-up residue. After soaking, scrub gently with a soft brush and rinse thoroughly. Vinegar's acidic nature makes it effective for brass cleaning, but be cautious as it can also remove any existing brass finish if left for too long.
Water spots can be a common issue, especially in areas with hard water. To remove water spots, use a small amount of lemon juice or white vinegar and apply it to the spots with a soft cloth. Let it sit for a few minutes to dissolve the spots, then gently scrub with a non-abrasive pad and rinse. Alternatively, you can use a specialized brass cleaner or a mixture of baking soda and water to create a gentle abrasive for spot removal.
To minimize dirt and grime buildup, consider using a tap protector or a small cloth cover when not in use. This simple step can significantly reduce the amount of dirt that accumulates on the tap's surface. Additionally, ensure that you wipe down the tap after each use to remove any spilled beer or residue, especially around the spout and handle areas.