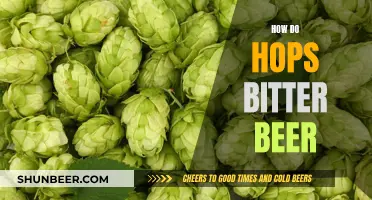
Hops are the female flower cones of the hops plant, a long, climbing vine. They are one of the main ingredients in beer, adding the classic bitter flavour and helping to preserve the beverage. The hops plant grows from rhizomes, which are fleshy underground stems. These can be separated to grow new plants. To harvest hops, you must first determine when the cones are ripe. The cones should feel light and springy, with sticky sap coming out of them. If they feel damp and squishy, they are not ready. Once the hops are harvested, they must be dried. This can be done by laying them out on a window screen in a dark, ventilated place for a few days, or in an oven at no more than 140 degrees Fahrenheit (60 degrees Celsius). After drying, the hops should be stored in a sealable bag in the freezer until ready for use.
What You'll Learn

When to harvest hops
Knowing when to harvest hops is a tricky skill to master, and it's a question every homebrewer-turned-hop-grower must face. Unlike most things we grow in the garden, hop harvest time isn't obvious. Hop cones are the plant's flowers, so they don't ripen like fruit and vegetables. The good stuff for beer, the powdery yellow lupulin, is hidden beneath the petals.
The good news is that there is a relatively long window for hop picking if you're growing for home consumption and don't need to worry about maximising yields. Most hops in the UK and the Northern Hemisphere are ready to pick towards the end of August and through September.
- The cones start to fan out and bulge.
- The edges of the hop cone start to dry out and brown slightly.
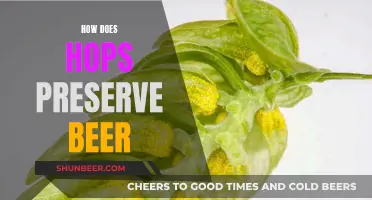
- When you bend or break a cone, you see what looks like pollen (lupulin).
- The cones should have a nice bounce when you squeeze them, and your fingers should be sticky after touching one.
- The cones feel light and springy, with sticky sap coming out of them.
- They smell pungent, like a mix of grass, pine, citrus and onion.
- The colour of the hops will begin to fade from a vibrant, fresh green to a lighter shade of yellow.
- The texture will change from soft and damp to drier and more papery.
- The smell will change from a green, grassy, vegetal aroma to that of hoppy beer.
If you're still unsure, it's better to wait a little longer as overripe hops are better than underripe hops. Once you've seen how they look when they're overripe, it will be easier to identify an underripe hop next time.
Hops in Near Beer: What's the Deal?
You may want to see also

How to dry hops
Dry hopping is a process in which hops are added to beer after it has completed its primary fermentation. This technique is used to introduce a burst of hop aroma to any style of beer, especially pale ales and IPAs. The process is similar to making tea, where tea bags are steeped in water.
Dry hops are added to the fermenter or the keg, at the rate of 1/4 to 1/2 oz per gallon. They are allowed to soak and macerate in the beer for up to several weeks, resulting in a burst of hop aroma.
There are different forms of hops that can be used for dry hopping:
- Whole cone hops: These hops are added to the fermenter as whole flowers, but they tend to float on top of the liquid and absorb a higher quantity of beer.
- Pellet hops: Pellet hops are the most common and affordable form, where whole dried hops are crushed and pressed into a pellet shape. They absorb less beer and "dissolve" back into the hop dust, allowing the beer to fully surround the particles and extract the oils.
- Cryo hops: Cryo hops are made by freezing whole hops and removing the lupulin glands that contain essential oils and acids. The result is a fine powder that has a serious punch of aroma and oil.
When dry hopping, it is important to consider the timing of when to add the hops. The hops can be added during primary fermentation or after fermentation. Adding hops during primary fermentation can cause an interaction between hop polyphenols and proteins, resulting in a permanent haze in the beer, which is characteristic of the New England IPA (NEIPA) style. On the other hand, adding hops after fermentation dependably produces the same aromas described on the hop packaging.
The ideal amount of time for dry hopping is about 48-72 hours. After this period, the beer should be packaged to avoid the development of vegetal flavours such as "grassy" notes.
Overall, dry hopping is a great way to enhance the aroma and flavour of your beer, especially if you are looking for a hoppy profile.
Hoppy Beer, Happy Life: The Ultimate Guide to Hopping
You may want to see also

How to store hops
When storing hops, your main goal is to preserve their oils and resins. The short-term enemies of these oils are heat and oxidation, and the long-term enemies are heat, oxygen, and light.
To prevent oxidation and isomerization, hops should be dried within three days of picking, and the temperature should not exceed 140°F (60°C).
Once dried, hops should be packaged and stored in a cold, dark place. The ideal storage method is in oxygen-barrier vacuum bags in the freezer. Invest in a home vacuum sealer and consider using mylar-lined plastic vacuum bags. If you don't have access to mylar, regular plastic vacuum bags will work, but they won't preserve your hops for as long.
If you don't have a vacuum sealer, you can still store your hops in the freezer. Weigh them out and separate them into one to two-ounce bags. Push as much air out of the bags as possible, seal them, label them, and place them in the freezer.
If you're storing hops in jars, stuff the jars as full as possible to minimise the amount of oxygen inside. Canning jars can be stored in the freezer, too.
Filtering Dry-Hopped Beer: A Guide to Perfect Clarity
You may want to see also

How to pick hops
Picking hops is a fun but tedious task. If you have only one plant, you can do it yourself. If you have more than one or two, you might want to grab a six-pack and ask a friend to help.
First, make sure to wear gloves and long sleeves. Hops bines are abrasive and can cause flare-ups for those with some forms of dermatitis. You can either pull down your bines from your lines or trellis (if they are first-year plants) or chop them down about three feet from the ground (second year and beyond). Leaving first-year plants to lay down after harvest allows them to strengthen their roots going into winter.
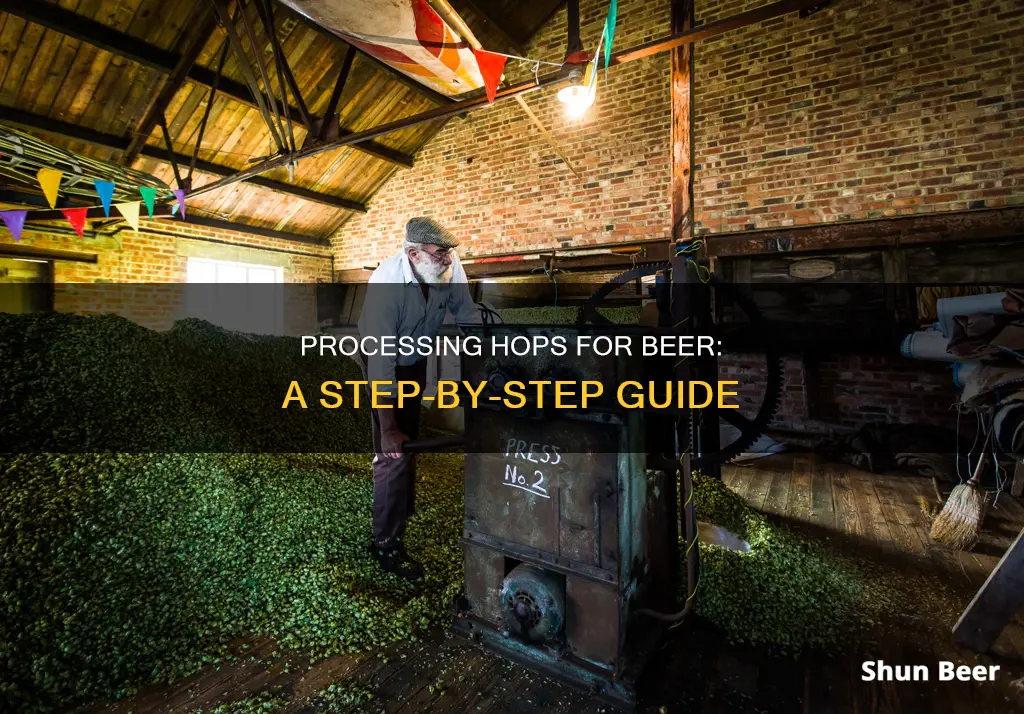
Now, pick the hops by hand, one by one, and toss them into a basket or brown paper bag. If these are mature plants (three years or older), you can leave tiny cones on the bine. If you only lowered your bine instead of chopping it off, string it back up when you’re done. By year three and beyond, you can sometimes get another small harvest two to four weeks after the first.
Congratulations, you’ve picked your hops! Now comes the drying and packaging.
Hops and Cannabis: THC in Beer Explored
You may want to see also

How to check hops are ripe
To check if your hops are ripe, there are a few different methods you can use.
Firstly, you can perform a sensory test. Squeeze the cone gently. If it stays compressed, it's not ripe. When ripe, hops will feel light, dry and springy, and will return to their original shape after being squeezed. You can also roll the hop next to your ear; if it makes a cricket sound, it's ready to harvest. The tips of the hops should feel papery and sticky to the touch.
You can also check the colour of the hops. As they swell, they will be a vibrant, fresh green. When they are ready to harvest, this vividness will begin to fade, and you will start to see some browning around the edges.
Another way to check is to break up a cone and check for lupulin, the powdery yellow substance at the base of the petals. Ripe hops will have a good smattering of this substance.
If you want to be very precise, you can perform a dryness test. Pick a sample of hops and dry them out completely, then weigh them. You can then calculate the percentage of dry matter. Most hops are ready to harvest when they have reached about 23% dry matter.
If you are still unsure, it is better to wait a little longer. Overripe hops are better than underripe hops.
Measuring Hops in Beer: The Ultimate Guide to Alpha Acids
You may want to see also
Frequently asked questions
The cones should feel light and dry, and spring back after a squeeze. They should also have a pungent smell, somewhere between cut grass and onion.
You have two options: pick the cones by hand, or cut down the bine and harvest the cones from there. Hand-picking is recommended for first-year crops, while cutting the bine is better for all subsequent years.
You have two options: throw them directly into a brew to make a wet-hopped beer, or dry them to use later. If you choose the latter option, you must dry them quickly without heating them too much. Air drying is the best way to dry hops, but you can also use a food dehydrator or a conventional oven.
The central stem of the hop cone should be brittle and easily break apart when bent. The entire cone should be crispy and easily crushed.
Weigh your hops out and separate them into 1-ounce bags. Remove as much air as possible from the bags, then seal and place them in the freezer.


