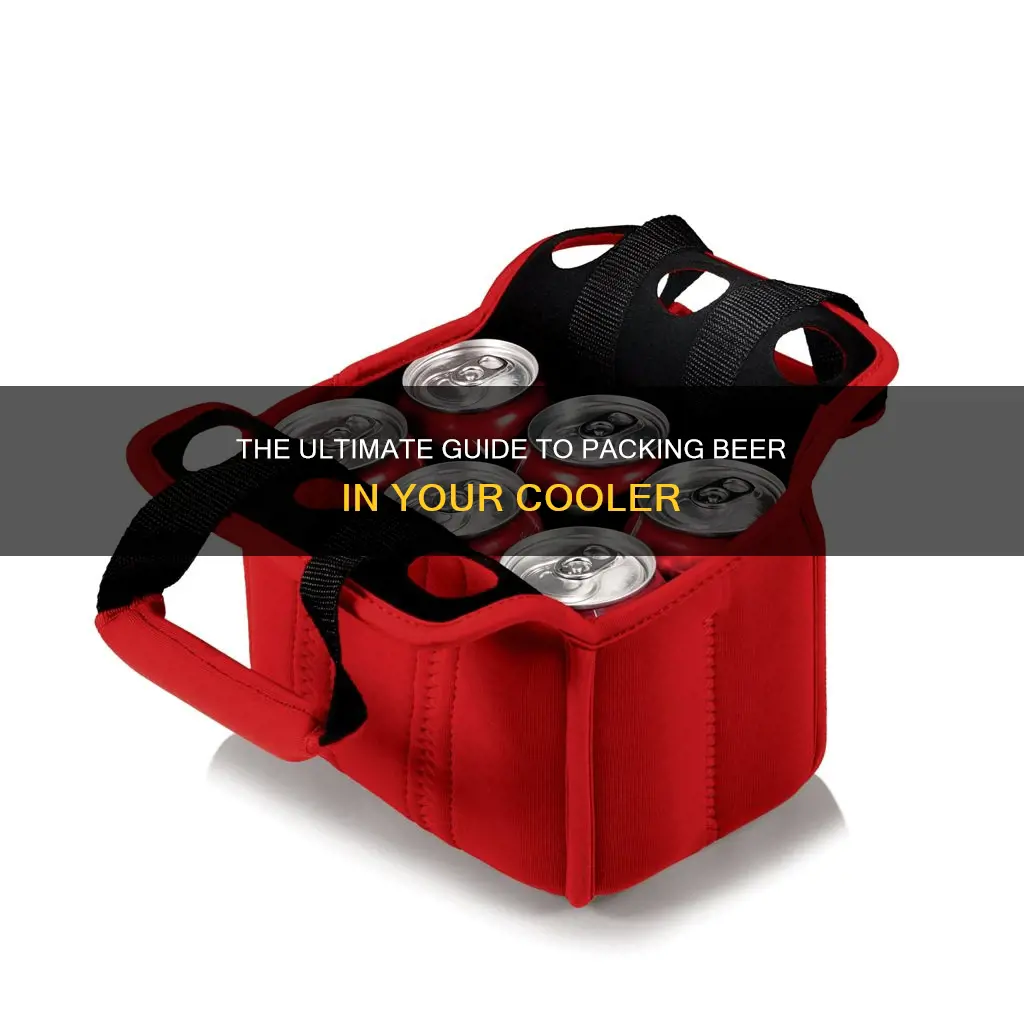
Packing a cooler with beer for a picnic or a camping trip is an art. It's not just about stacking cans; it's about ensuring your drinks stay cold and fresh. The key is to use the right materials and techniques to maximize insulation and minimize heat transfer. Start by lining the cooler with a soft, insulated blanket or a towel to create a barrier between the ice and the beer. Then, place the cans or bottles in a way that leaves minimal air pockets, as these can cause the temperature to rise. Consider using a cooler bag with built-in insulation or adding extra ice to the mix for added protection. By following these simple steps, you can keep your beer cold and crisp, even in the hottest of environments.
What You'll Learn
![]()
Choose the right cooler size for the number of beers
When it comes to transporting beer, choosing the right cooler size is crucial to ensure your drinks stay cold and fresh. The goal is to keep the beer chilled without freezing it, as this can alter the taste. The size of the cooler should be proportional to the number of beers you plan to carry. For a small gathering or a day trip with a few friends, a compact cooler with a capacity of 10-15 liters (2.6-3.9 gallons) should suffice. These smaller coolers are lightweight and easy to carry, making them ideal for short trips or when space is limited.
For larger groups or extended outdoor activities, a larger cooler is necessary. Consider a cooler with a capacity of 20-30 liters (5.3-7.9 gallons). This size is perfect for accommodating a significant number of beers while still providing enough room for ice and other beverages. Larger coolers often feature multiple compartments, allowing you to organize your drinks and keep them cold for extended periods.
To determine the ideal cooler size, consider the following factors: the number of beers you want to transport, the duration of your trip, and the availability of storage space. If you're planning a weekend camping trip with a large group, a larger cooler will be essential to keep everyone's favorite brews cold and accessible. On the other hand, if you're just heading to a friend's house for a casual get-together, a smaller cooler might be more than sufficient.
Additionally, think about the type of beer you're carrying. Craft beers or specialty beers might require a bit more space to maintain their unique flavors. In such cases, opt for a cooler with a bit more capacity to ensure the beer remains at its optimal temperature. Remember, the goal is to keep the beer cold and fresh, so choose a cooler that provides adequate insulation and has a good thermal performance.
In summary, selecting the right cooler size is a practical approach to ensure your beer remains in top condition during transportation. By considering the number of beers, trip duration, and available storage, you can make an informed decision. Whether it's a small cooler for a quick trip or a larger one for extended adventures, the right choice will keep your beer chilled and ready to enjoy.
Crafting the Perfect Beer Garden: A Microbrewery's Guide
You may want to see also
![]()
Pack ice around the beers to keep them cold
When preparing a cooler for a day out, ensuring your beers stay cold and fresh is essential. One effective method is to pack ice around the beverages. Here's a step-by-step guide on how to do this efficiently:
Start by placing a layer of ice at the bottom of the cooler. This initial layer will help lower the temperature inside the cooler quickly. You can use ice cubes or crushed ice for this step. Aim to cover the entire bottom surface to create a cold base.
Next, arrange the beers in the cooler. Place them in a way that maximizes the surface area exposed to the cold air. You can stack them or place them side by side, ensuring they are not overcrowded. The goal is to allow cold air to circulate around each beer, helping to maintain an even temperature.
Now, it's time to surround the beers with ice. Pack ice cubes or crushed ice tightly around each beer. Fill the gaps between the beers and the cooler walls with ice. This step is crucial as it creates a cold barrier around the beverages, preventing heat transfer and keeping them chilled. Ensure that the ice is well-compacted to minimize air gaps, which can affect insulation.
Consider adding a layer of ice on top of the beers as well. This top layer will further insulate the cooler, trapping the cold air inside. You can also use a cooler lid to seal the contents, ensuring the ice and beers stay in place.
By following these steps, you can effectively pack ice around your beers, creating a well-insulated environment that keeps them cold throughout your journey. This method is particularly useful for outdoor activities where access to a constant power source might be limited. Remember to monitor the ice levels regularly to maintain the desired temperature.
Creative Guide: Adding Photos to Your Beer Mugs
You may want to see also
![]()
Use a cooler with good insulation to maintain temperature
When it comes to keeping your beer cold and fresh during outdoor activities, using a cooler with excellent insulation is key. The primary purpose of insulation is to create a barrier that minimizes heat transfer, ensuring that the cold air inside the cooler stays cold and the beer remains chilled. Here's a detailed guide on how to utilize this feature effectively:
Choose the Right Cooler: Start by selecting a cooler specifically designed for beverage storage. Look for models with high-quality insulation materials, such as polyurethane foam or vacuum-insulated panels. These materials provide superior thermal resistance, making it harder for heat to penetrate and cool air to escape. Opt for a size that accommodates your beer quantity comfortably, ensuring there's enough space for circulation.
Prepare the Cooler: Before placing your beer inside, ensure the cooler is clean and dry. Any moisture or dirt can affect the insulation's performance. If using a reusable cooler, wipe it down with a damp cloth to remove any residue. This step is crucial, especially if you're reusing the cooler for different items, as it prevents the transfer of odors and maintains the insulation's integrity.
Pack Strategically: Arrange your beer bottles or cans in a way that maximizes insulation. Place the drinks in a single layer, allowing air to circulate around them. Avoid stacking them too high, as this can create a barrier to airflow and hinder temperature regulation. Consider using cooler inserts or dividers to keep the beer organized and prevent direct contact with the cooler walls, which can affect temperature retention.
Utilize Ice or Ice Packs: Fill the cooler with ice or ice packs to create a cold environment. Ice provides an excellent cooling source, and its slow melting process ensures a steady temperature. Place the ice directly on top of the beer or around the containers to create a cold barrier. You can also use ice packs, which are reusable and can be frozen beforehand, providing a long-lasting cooling effect.
Minimize Airflow: Proper insulation also involves minimizing airflow into the cooler. Keep the cooler's lid closed as much as possible to reduce heat exchange with the surrounding environment. If the cooler has a locking mechanism, utilize it to ensure the lid stays shut. Additionally, consider using a cooler with a secure seal or a gasketed lid to further enhance insulation and maintain the desired temperature.
By following these steps and utilizing a well-insulated cooler, you can effectively keep your beer cold and fresh, ensuring a pleasant drinking experience during your outdoor adventures. Remember, the right insulation is a critical component in maintaining the quality of your beverages.
The Ultimate Guide to Pouring Beer in Bloody Marys
You may want to see also
![]()
Keep the cooler out of direct sunlight to prevent warming
To maintain the optimal temperature of your beer and ensure it stays cold, it's crucial to keep the cooler out of direct sunlight. Sunlight can significantly warm the contents of the cooler, especially if it's left in a sunny spot for an extended period. Here's a detailed guide on why and how to prevent this issue:
Understanding the Impact of Sunlight: When you place a cooler in direct sunlight, the sun's rays heat up the cooler's exterior. This warmth is then transferred to the contents inside, particularly the beer, which is sensitive to temperature changes. Over time, the beer can warm up, losing its refreshing chill and potentially developing a flat taste. This is especially problematic if you're planning to enjoy the beer later in the day or the next day, as it may not be as enjoyable at room temperature.
Location Matters: The placement of your cooler is critical. If you're at a picnic or a beach, try to find a shaded area or a spot under a tree or an umbrella. You can also use a cooler cover or a blanket to provide additional shade and insulation. For longer trips or when you're on the move, consider placing the cooler in the trunk of your car or in the back of a vehicle, where it will be protected from direct sunlight.
Utilize Insulation: Modern coolers are designed with insulation to keep the contents cold. Ensure that the cooler is sealed properly and that there are no gaps or openings through which sunlight can enter. Some coolers also feature reflective lining or insulated walls, which further enhance their ability to maintain temperature. If your cooler doesn't have these features, consider using a cooler bag or a insulated bag to line the inside, providing an extra layer of protection against heat.
Regular Monitoring: Even with proper shading and insulation, it's a good practice to check on your beer periodically. If you notice any warming, move the cooler to a shadier spot or adjust its position to ensure it's not in direct sunlight. You can also use ice packs or frozen water bottles to help maintain the temperature, especially if you're planning to keep the cooler outside for an extended period.
By following these simple steps, you can ensure that your beer remains cold and refreshing, even in sunny conditions. Remember, the goal is to minimize heat transfer and maintain the ideal temperature for your beer, allowing you to enjoy it at its best.
Beer Faucet Repair: Step-by-Step Guide to Reassemble Your Tap
You may want to see also
![]()
Regularly check the temperature to ensure beers stay fresh
When it comes to keeping your beer cold and fresh during outdoor activities or picnics, regularly checking the temperature of your cooler is an essential practice. This simple step can significantly impact the taste and quality of your beverages. Here's a detailed guide on why and how to monitor the temperature to ensure your beers remain in optimal condition.
The primary goal is to maintain a consistent cold temperature, typically around 45°F (7°C) or lower. This range is ideal for preserving the carbonation and flavor of the beer. Warmer temperatures can cause the beer to spoil faster, leading to a loss of carbonation and an unpleasant taste. Therefore, regular temperature checks are crucial. Aim to check the cooler's temperature at least once every hour, especially if you're in a hot environment or the cooler is exposed to direct sunlight. For longer trips or events, checking every 2-3 hours is recommended.
To take accurate temperature readings, use a reliable thermometer. Digital thermometers with a probe are ideal for inserting into the cooler. Place the thermometer in the middle of the cooler, away from the cooler's walls and lid, to get a representative temperature. This ensures that you're monitoring the temperature where the beer is stored, not just the surface of the cooler.
If you notice the temperature rising above the desired range, take immediate action. You can try moving the cooler to a shaded area, using ice packs or frozen water bottles to lower the temperature, or even adding dry ice (if available and legal in your area) to quickly chill the contents. For longer-term solutions, consider investing in a cooler with better insulation or a portable cooler with a built-in thermometer and cooling system.
Additionally, it's a good practice to keep a record of the temperature checks, especially if you're planning a long trip. This can help you identify any patterns or issues with temperature fluctuations and allow you to take proactive measures to keep your beer fresh. Remember, the key to successful beer cooling is consistent monitoring and quick action when needed.
The Art of Draft Beer: To Bailey or Not to Bailey?
You may want to see also
Frequently asked questions
Start by laying out a towel or a soft cloth to protect the bottles or cans. Then, place the drinks in a single layer, ensuring they are not overcrowded. You can stack them if they are tall enough to fit without toppling over. Use the cooler's space wisely by arranging the items in a way that maximizes the area.
The key to maintaining the chill is to use ice. Fill the cooler with ice, leaving some space at the top for the drinks. You can also add ice packs or frozen water bottles to create a consistent cold environment. Ensure the ice is replenished regularly, especially if the cooler is exposed to direct sunlight or high temperatures.
Yes, you can, but it requires some preparation. Wrap each can or bottle in a thin cloth or towel to provide insulation. You can also use cooler packs or frozen items as a buffer between the drinks and the cooler walls. Additionally, keep the cooler in the shade or use a cooler bag with better insulation to minimize temperature changes.