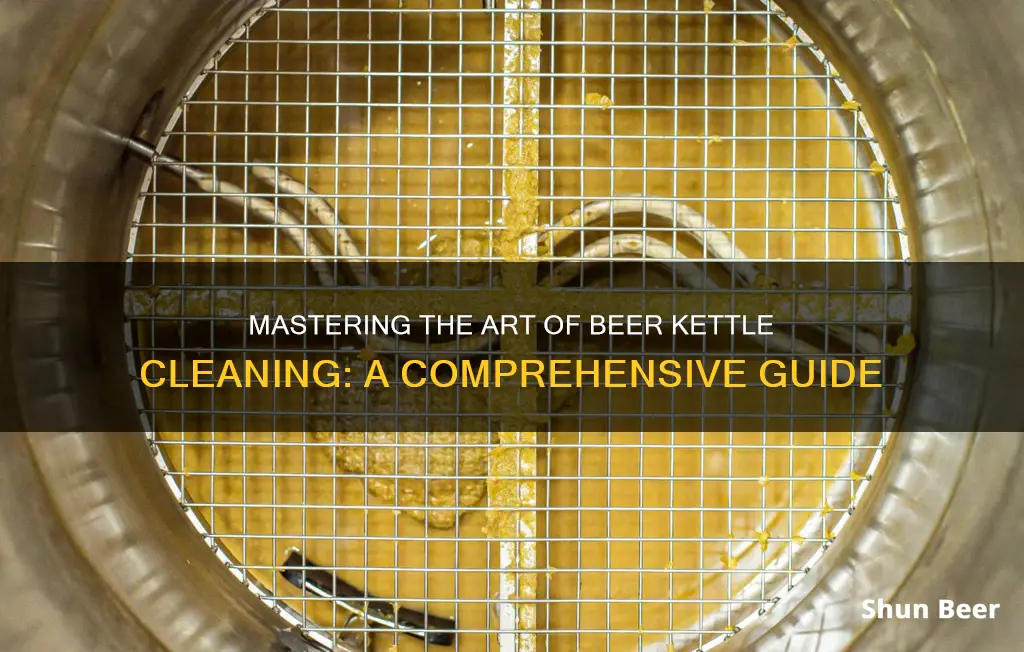
Cleaning a beer kettle is essential to ensure the purity and quality of your brew. Over time, residue, scale, and bacteria can accumulate in the kettle, affecting the taste of your beer. This guide will provide a step-by-step process to effectively clean your beer kettle, including the necessary tools and techniques to remove any built-up contaminants and maintain a clean brewing environment.
| Characteristics | Values |
|---|---|
| Cleaning Frequency | Every 2-3 brewing sessions or as needed |
| Warm Water | Yes, to help dissolve and remove residue |
| Vinegar | Effective for deep cleaning, use 50/50 vinegar and water solution |
| Baking Soda | Great for scrubbing and removing stubborn deposits |
| Brushes | Use a soft-bristled brush or bottle brush for thorough cleaning |
| Rinsing | Rinse thoroughly with hot water to remove any cleaning agents |
| Disassembly | Break down the kettle into parts for easier cleaning |
| Detergent | Mild dish soap can be used, but avoid harsh chemicals |
| Time | Allow sufficient time for soaking and cleaning |
| Maintenance | Regularly descale to prevent mineral buildup |
What You'll Learn
- Pre-Rinse: Rinse the kettle with water to remove loose particles and prevent clogging
- Soak: Immerse the kettle in a soak solution (e.g., vinegar and water) for 30 minutes
- Scrub: Use a soft brush or sponge to scrub the interior of the kettle
- Rinse Thoroughly: Rinse the kettle with hot water to remove all cleaning agents
- Dry and Store: Dry the kettle completely and store it in a clean, dry place
![]()
Pre-Rinse: Rinse the kettle with water to remove loose particles and prevent clogging
Before you begin the deep cleaning process, it's crucial to pre-rinse your beer kettle to ensure optimal hygiene and prevent any unwanted particles from clogging the system. This initial step is often overlooked but plays a vital role in maintaining the quality of your brew.
The pre-rinse process is simple yet effective. Start by filling the kettle with a gentle stream of warm water. This initial rinse aims to dislodge any loose particles, such as hops, grains, or other brewing byproducts, that may have accumulated during the brewing process. By doing so, you prevent these particles from settling and potentially causing blockages or off-flavors in your beer.
Using a gentle hand, swirl the water around inside the kettle to ensure that all surfaces are adequately coated. Pay attention to the corners and crevices, as these areas can trap particles and create breeding grounds for bacteria. The goal is to create a clean slate, ensuring that the subsequent cleaning process is more effective and efficient.
After the initial swirl, let the water run out of the kettle. This step is crucial to remove any loose debris and prepare the kettle for the more intensive cleaning that follows. Remember, a thorough pre-rinse not only enhances the taste of your beer but also contributes to a healthier and more consistent brewing experience.
By taking this extra step, you're essentially giving your beer kettle a fresh start, ensuring that the cleaning process is more effective and that your beer retains its pure and crisp character. This simple technique is a fundamental part of the brewing ritual, allowing you to focus on the art of crafting the perfect brew.
The Surprising Truth: Does Jizz in Beer Kill Your Next Load?
You may want to see also
![]()
Soak: Immerse the kettle in a soak solution (e.g., vinegar and water) for 30 minutes
To effectively clean your beer kettle and ensure the best brewing experience, a soak is an excellent first step. This process helps to loosen and dissolve any built-up residue, making it easier to remove. Here's a detailed guide on how to soak your beer kettle:
Prepare the Soak Solution:
You'll need a mixture of vinegar and water to create an effective cleaning agent. White vinegar is a popular choice due to its acidic nature, which helps break down mineral deposits and grime. Mix one part vinegar with three parts water. For example, use one cup of vinegar and three cups of water. This solution is gentle yet powerful enough to tackle most cleaning challenges.
Immerse the Kettle:
Place your beer kettle in a suitable container or sink, ensuring it is fully submerged in the vinegar and water solution. Allow it to soak for approximately 30 minutes. The vinegar will start to work on dissolving any deposits, including mineral buildup and any leftover beer residue. This step is crucial as it prepares the kettle for more intensive cleaning methods if needed.
Advantages of Soaking:
Soaking is an excellent way to initiate the cleaning process as it allows the vinegar to penetrate and loosen any stubborn deposits. It's a gentle yet effective method that can be used regularly to maintain the kettle's cleanliness. After the soak, you'll notice a significant reduction in the buildup, making subsequent cleaning steps more manageable.
Post-Soak Care:
After removing the kettle from the soak, rinse it thoroughly with warm water to ensure no vinegar residue remains. This step is essential to prevent any lingering vinegar taste in your beer. Then, proceed with other cleaning techniques, such as scrubbing or using a specialized beer kettle cleaner, to ensure a comprehensive clean.
Remember, regular cleaning and maintenance of your beer kettle will contribute to better-tasting beer and extend the life of your brewing equipment. Soaking is a simple yet powerful technique to start the cleaning process and ensure your kettle is in top condition.
Unraveling the Mystery: Why Cashiers Wrap Beer in Brown Bags
You may want to see also
![]()
Scrub: Use a soft brush or sponge to scrub the interior of the kettle
To effectively clean your beer kettle, it's important to follow a systematic approach to ensure a thorough and safe cleaning process. One of the key steps is to use a soft brush or sponge to scrub the interior of the kettle. This method is gentle yet effective in removing any built-up residue, ensuring your beer remains clean and pure.
Start by filling the kettle with warm water, enough to cover the interior surface. This warm water will help to soften any stubborn deposits and make the cleaning process easier. Avoid using hot water as it can potentially damage the kettle's material. Next, take a soft-bristled brush or a sponge with a mild detergent. The soft brush is ideal for reaching into tight spaces and corners without scratching the surface. Gently scrub the interior walls, paying extra attention to areas where beer residue tends to accumulate, such as the spout and the bottom of the kettle.
For more stubborn stains, you can use a small amount of dish soap or a specialized beer kettle cleaner. These products are designed to cut through grime without leaving behind any harmful residues. Always follow the instructions on the cleaning product to ensure safe and effective use. After scrubbing, rinse the kettle thoroughly with warm water to remove any soap residue. Make sure to get into all the nooks and crannies to ensure no soap remains.
Once the kettle is thoroughly rinsed, allow it to air dry completely. This step is crucial to prevent any moisture from remaining inside the kettle, which could lead to the growth of mold or bacteria. You can speed up the drying process by placing the kettle in a well-ventilated area or using a clean towel to pat it dry. By following this detailed cleaning process, you'll ensure that your beer kettle is not only spotless but also contributes to the overall quality of your beer-making experience.
The Perfect Vessel for Lager Beer: A Guide to Choosing the Right Glass
You may want to see also
![]()
Rinse Thoroughly: Rinse the kettle with hot water to remove all cleaning agents
Rinsing the beer kettle thoroughly is an essential step in the cleaning process, ensuring that no cleaning agents or residue remain after the cleaning cycle. This step is crucial to prevent any unwanted flavors or odors from affecting your next brew. Here's a detailed guide on how to rinse the kettle effectively:
Begin by filling the kettle with hot water, ensuring it is well above the rim. The heat is essential as it helps to dissolve and remove any cleaning agents or residue. Pour the hot water generously over the interior surface of the kettle, making sure to cover all areas, including the spout and any nooks or crannies. Let the water sit for a brief moment to allow it to work its way through the kettle's interior.
After a few moments, drain the hot water and refill the kettle with fresh, cold water. This step is important to ensure that no residual heat remains, which could potentially affect the taste of your beer. Again, pour the cold water generously, ensuring it covers all parts of the kettle. The cold water will help to flush out any remaining cleaning agents and prepare the kettle for the next use.
For an extra thorough rinse, consider using a soft-bristled brush or a bottle brush to gently scrub the interior of the kettle. This is especially useful for removing any stubborn residue or spots. Focus on the areas where cleaning agents might have accumulated, such as the spout and the base of the kettle. Rinse the brush thoroughly with the cold water to avoid any residue transfer.
Finally, once you've rinsed the kettle, it's a good idea to give it a final flush with a small amount of hot water to ensure all the cleaning agents are completely removed. This last step ensures that your beer kettle is clean and ready for the next brewing session, free from any cleaning agent residue.
Mastering the Art of Homebrewing: Testing Beer in the Fermenter
You may want to see also
![]()
Dry and Store: Dry the kettle completely and store it in a clean, dry place
After you've finished brewing and cleaning your beer kettle, the next crucial step is to ensure it's completely dry before storing it. Moisture can lead to the growth of mold and bacteria, which can negatively impact the taste of your next brew. Here's a detailed guide on how to dry and store your beer kettle properly:
Drying the Kettle:
- Rinse Thoroughly: Start by rinsing the kettle with warm water to remove any loose beer residue or sediment. This initial rinse helps prevent the buildup of grime during the drying process.
- Use a Soft Cloth or Towel: Gently dry the kettle's interior and exterior with a soft cloth or towel. Ensure you wipe down all surfaces, including the spout and handle, to remove any remaining moisture.
- Air Dry: Place the kettle upside down on a clean, dry surface. Allow it to air dry completely. This method ensures that no water is left inside the kettle, which could lead to the formation of mold or bacteria.
- Check for Completeness: Before storing, inspect the kettle to ensure it's entirely dry. You can use a hairdryer on a low setting to speed up the process if needed, but be cautious not to leave any moisture spots.
Storing the Kettle:
Once the kettle is thoroughly dry, it's essential to store it in a clean, dry place to maintain its hygiene and longevity.
- Designate a Storage Area: Choose a dry, cool area away from direct sunlight and moisture sources. A kitchen cabinet or a dedicated storage shelf is ideal.
- Keep it Empty: Always store the kettle empty. If you've just brewed, ensure it's completely cooled before adding it to storage. This practice prevents any residual heat from affecting the flavor of your next brew.
- Cover if Necessary: Consider using a breathable cloth or mesh cover to protect the kettle from dust and debris while still allowing air circulation.
- Regular Inspection: Periodically inspect your stored kettle for any signs of moisture or damage. This is especially important if you live in a humid environment.
By following these steps, you'll ensure that your beer kettle remains in excellent condition, ready for your next brewing adventure. Proper drying and storage are key to maintaining the quality of your brews and the longevity of your brewing equipment.
Brewing Basics: Hops Calculation for 5-Gallon Lager Batch
You may want to see also
Frequently asked questions
It is recommended to clean your beer kettle after every brewing session to maintain the quality of your beer and prevent off-flavors. Regular cleaning also helps to extend the life of your kettle.
Start by rinsing the kettle with hot water to remove any loose particles. Then, use a mild detergent or dish soap and a soft brush or sponge to scrub the interior, paying attention to the spout and any crevices. Finally, rinse thoroughly with hot water to ensure no soap residue remains.
Yes, vinegar is an excellent natural cleaner for beer kettles. Fill the kettle with a 50/50 mixture of vinegar and water, let it sit for 15-20 minutes, and then rinse thoroughly. Vinegar helps to dissolve mineral deposits and kill any bacteria.
The exterior of the kettle can be cleaned with a mild detergent and a soft cloth or sponge. Rinse it thoroughly after cleaning to remove any soap residue. For stubborn stains, you can use a small amount of baking soda mixed with water and scrub gently.
Yes, to minimize mineral buildup, use filtered water or distilled water for brewing. After each use, rinse the kettle with hot water to remove any beer residue. Regularly descale the kettle by running a descaling solution through it, which will help prevent mineral deposits from forming.